The Manual test case view allows you to create a test case manually by adding test steps and manual function libraries and also allows you to execute the manual test case.

Quick Start Screencast:
Objective and conditions:
Objective and conditions tab allows you to enter the objective of the manual test case, pre-condition & post-condition of your manual test case.

Add:
From here you can add a test step, and provide input data, and the expected output.
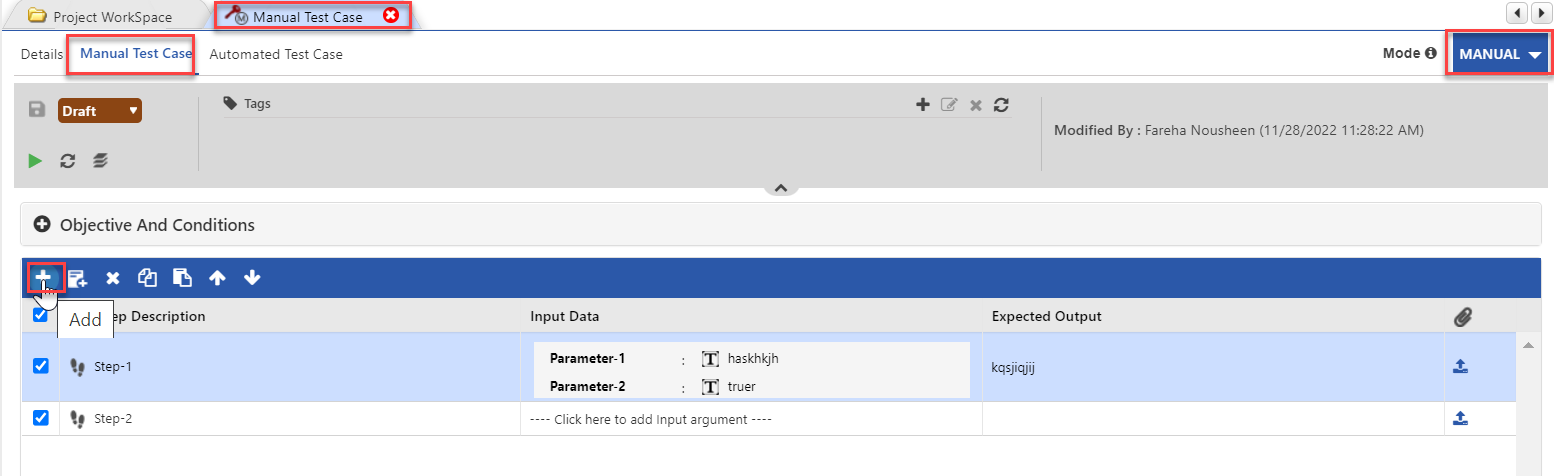

The expected output can be provided from the adjacent tab shown below. Next to the output tab is the arrow button for uploading the attachments.

The attachment can be uploaded either by selecting the existing attachment or by adding a new attachment.

You can select the attachment by clicking on the drop-down and selecting the required one to be uploaded. Once selected or added you need to save it.
You can also delete the selected attachment.

Once all the steps are added, you need to save them.
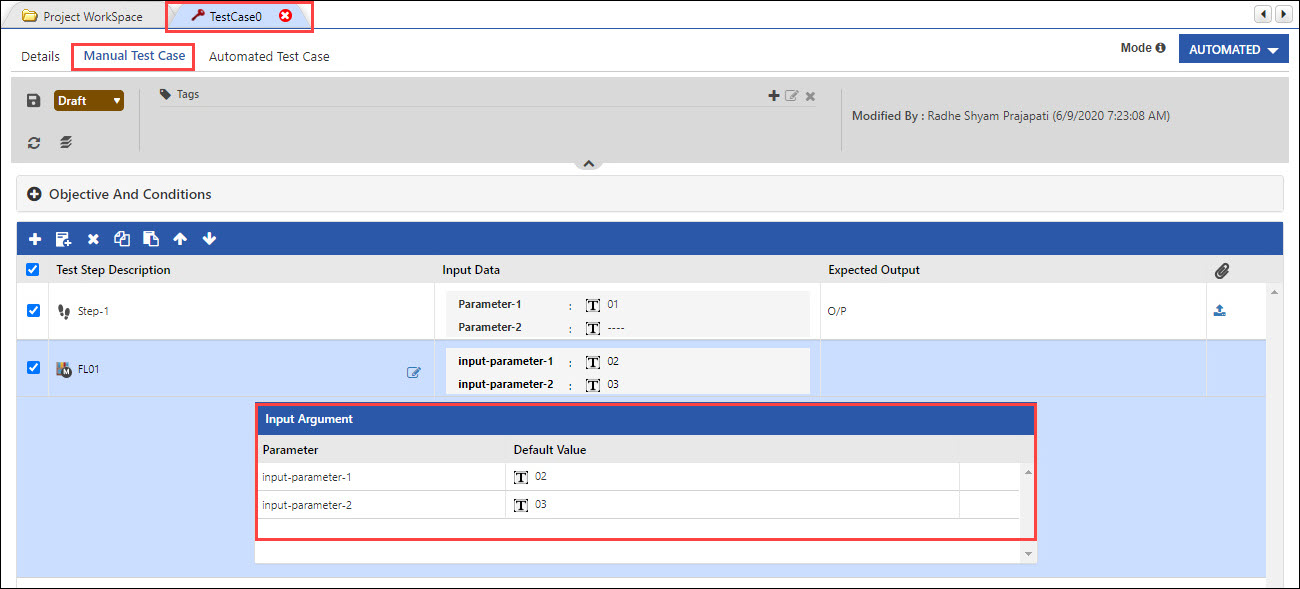
Add Manual Function Library:

Before executing the test case, you need to select the Test case mode, ie Manual or Automated.

To run the execution of the Manual Test Case, save all the steps and click on the execute button.

Select the build and click on the Finish button. A new page opens up which allows you to add the Expected Output.

The attachment can also be added from the tab adjacent to the expected output button.

The status of the Test steps can also be updated by clicking on the dropdown button as shown below.

Once you click on the Finish button, the execution begins.
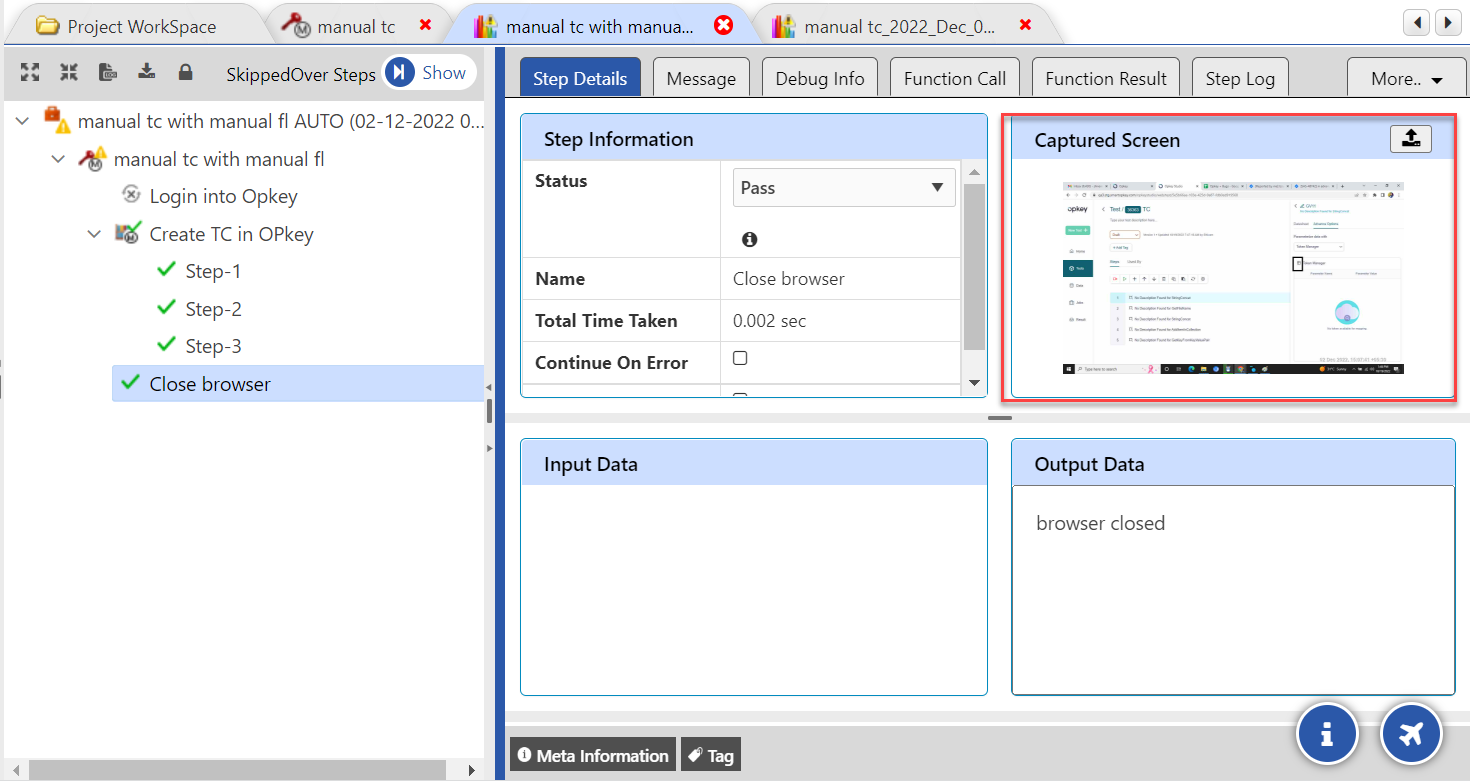
You’ll be able to view the live logs once the execution starts and the step details can be viewed once the execution is complete.

Once the execution is completed, you can open the execution result and edit the status, output data, and snapshots of the selected step. Expand the steps and view the details.
The Status of the Steps can also be changed by clicking on the dropdown.

You can also change the Output Data by clicking on the tab.
You can also upload the captured screen from the upward arrow button post the execution.
This feature is also implemented on the Opkey Surge. You can create a Manual Test case by selecting the Manual button.

If you want to change the Manual Test case to the Automated state, it will ask you to initially provide the Business Process.
Suite
In a suite you can either add a Manual Test Case or an Automated Test Case. You’ll be displayed with a notification while trying to add on both modes as shown in the image below.

Was this article helpful?
That’s Great!
Thank you for your feedback
Sorry! We couldn't be helpful
Thank you for your feedback
Feedback sent
We appreciate your effort and will try to fix the article