Function Libraries are a set of user actions that can be reused across various test cases, saving time on repetitive tasks. These components support input and output parameters and can also be merged with other function libraries.
For instance, in a shopping e-commerce site, you can create four function libraries: one for logging in, another for product search, a third for purchasing, and the last for logging out. These components can be utilized individually across various test cases.
Let’s proceed to see how to create a function library.
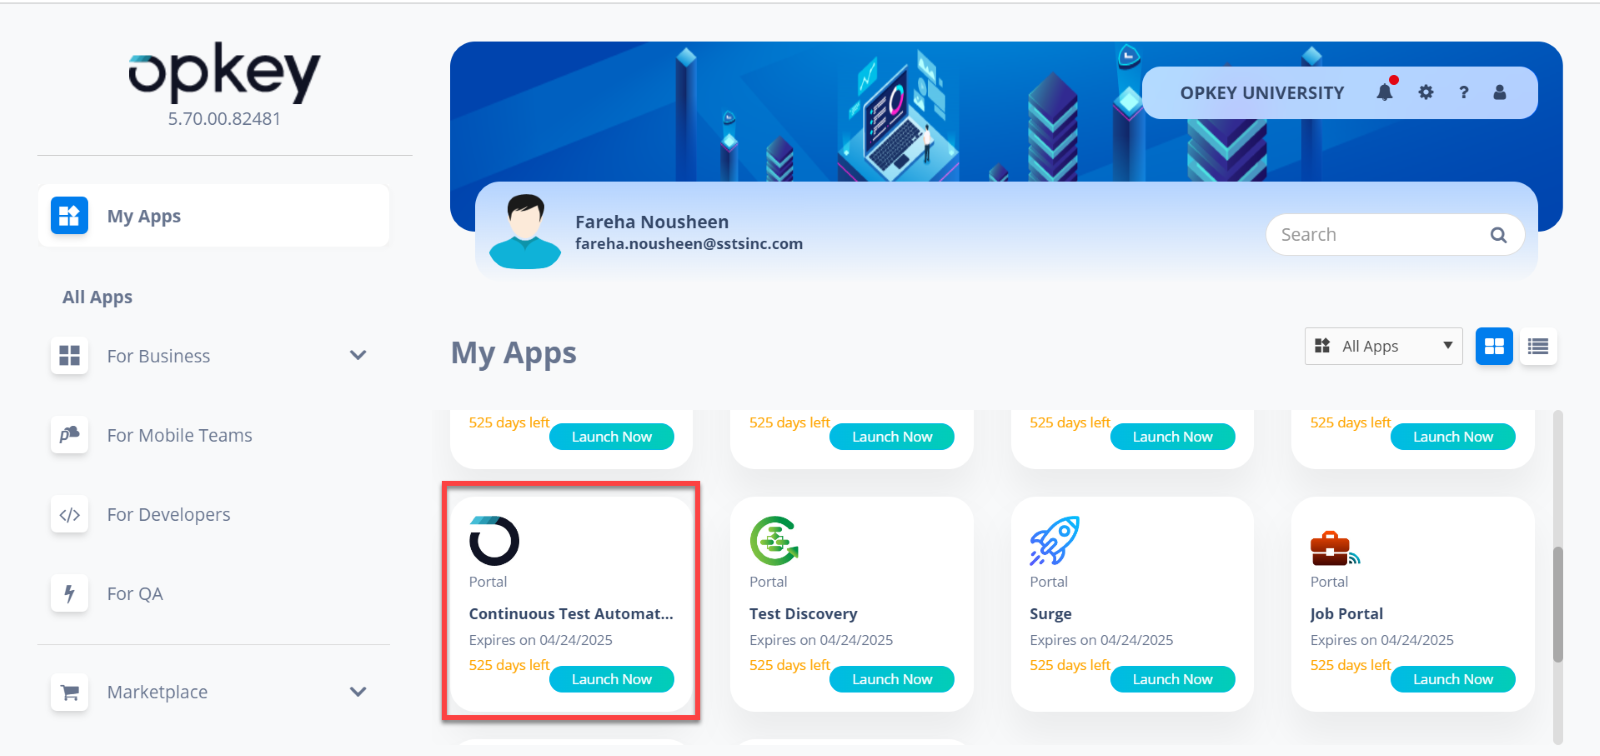
Login to Opkey and open Continuous Test Automation Web from the launchpad.

Click on the Project Workspace folder to create a new Function Library.

You can also create it by clicking the dialer on the Project Workspace.

Additionally, you can create new items by right-clicking on the Project Workspace folder and selecting the "Create New" option.

Once created, select Web Recorder from the list of recorders to begin the recording of the steps. You can also use other recorders to create a function library as per your requirement.

Select Object Repository, Browser, and Start Recording.

The recording action begins. Perform the steps on your application. These steps get recorded in Opkey. Click on Save and Close once the steps are complete.

The steps can now be seen in the function library.

You can run this function library by adding data to it. Or, use this function library in a new test case. Click on the Run button to execute the recorded steps.

The execution wizard pop-up opens. Enter a session name and select a build. Select the execution agent and plugin.
Click Finish.

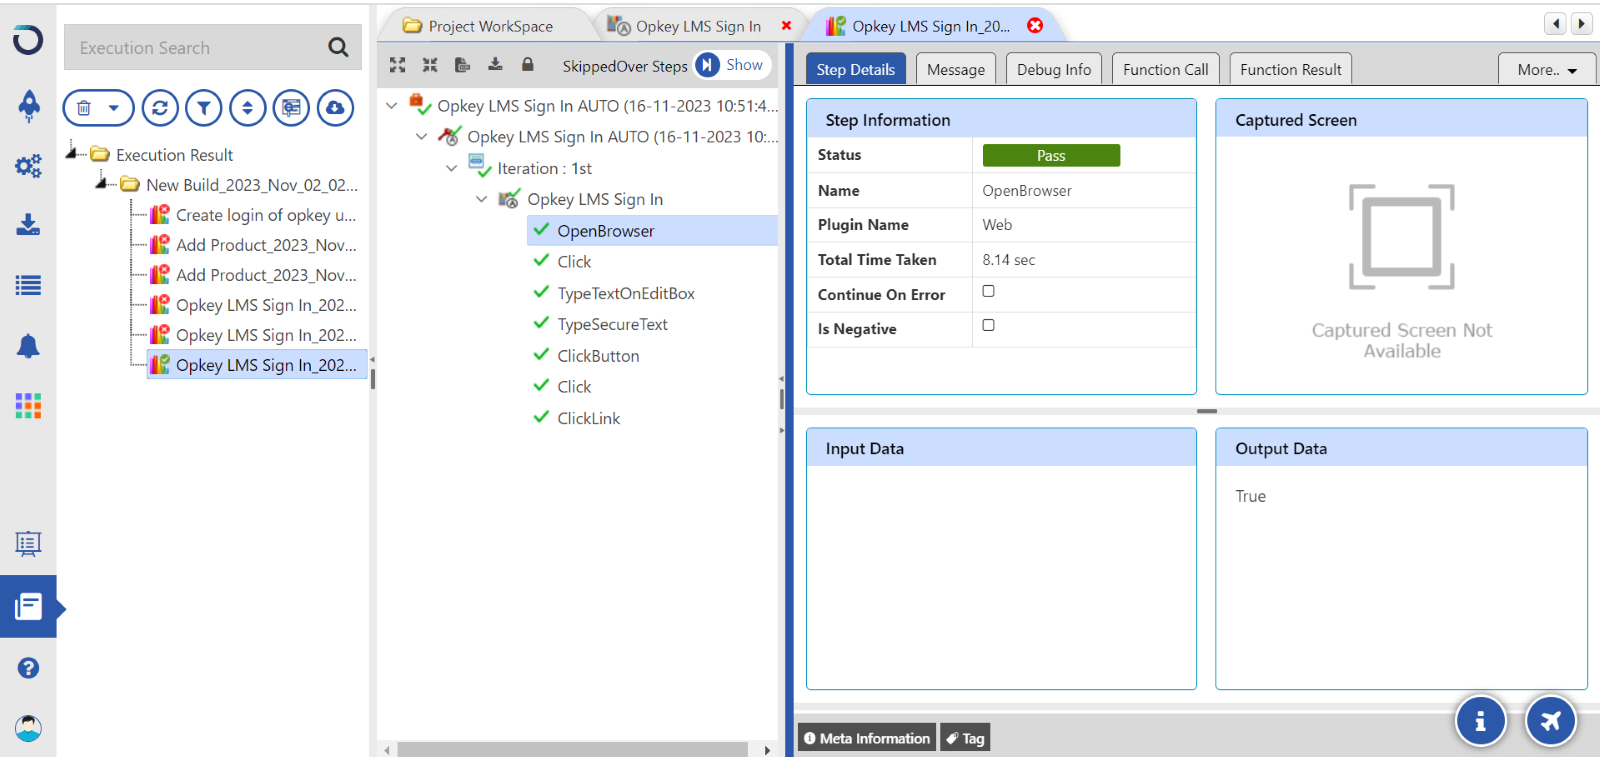
View live logs during execution. Click on the arrow to view the result.

View Results after execution.

With this, you now learned the creation of the Function Library.
Simplify your testing journey with Opkey. Click Here to learn more about Opkey features.