Model Based Testing (MBT) enables testers to create a model based design for their testing process. It provides a graphical view of the testing process containing all the possible test scenarios.
The purpose of designing the model based test is to represent a complex test scenario in a graphical view that is easy to understand for other users. This helps in collaboration among various teams of an organization.
Getting started with MBT:
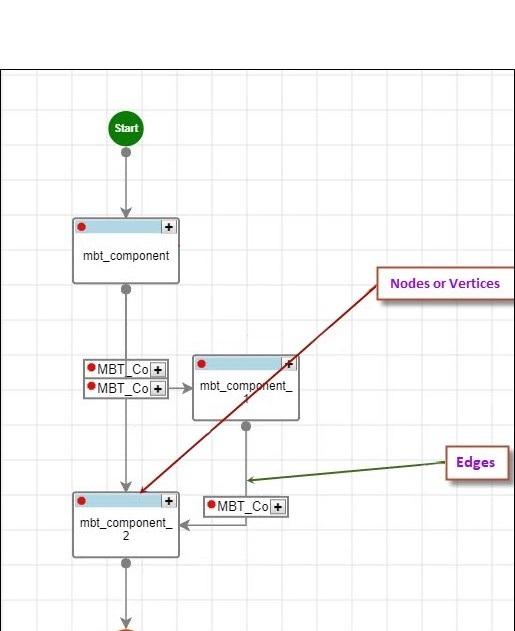
Model based test design contains nodes of different shapes which work as building blocks of the MBT. You can easily drag and drop required nodes and connect them with edges. You can also rearrange the added nodes and their connections.
Let's understand how an MBT is created in a few easy steps.
Method 1
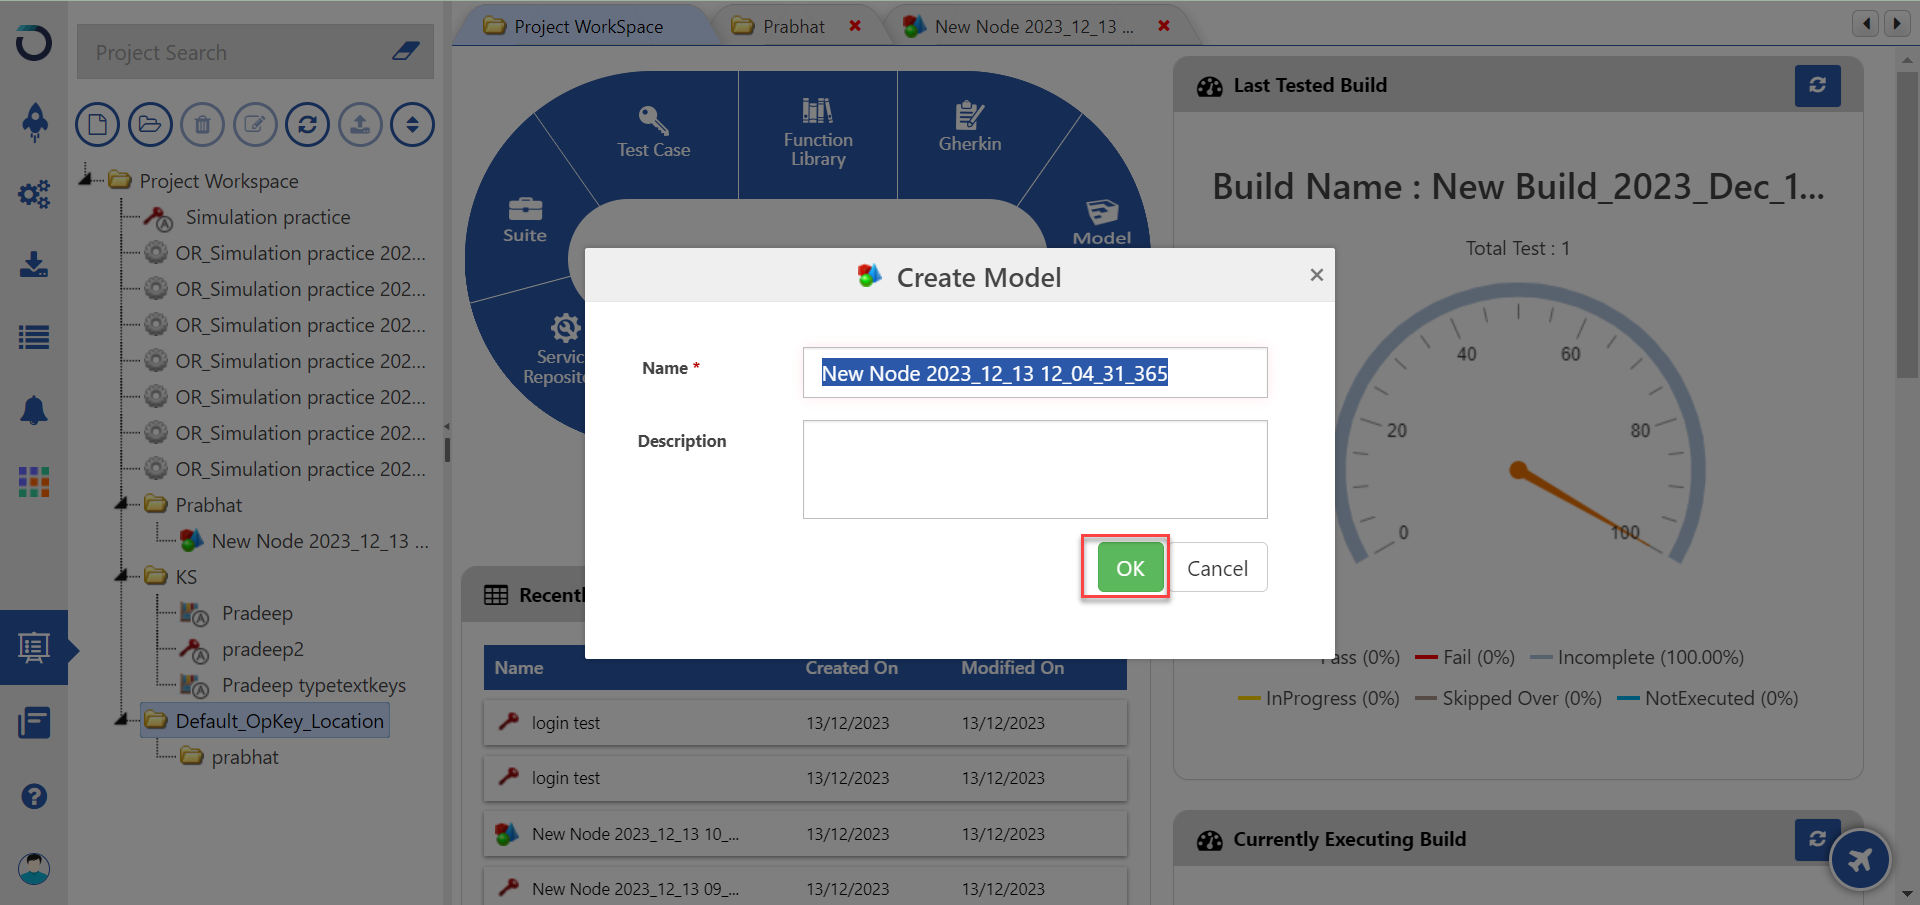
1. Click on the Model icon on your project workspace.

2. In the Create Model pop-up window, add a name, add a description, and click the OK button.
Method 2
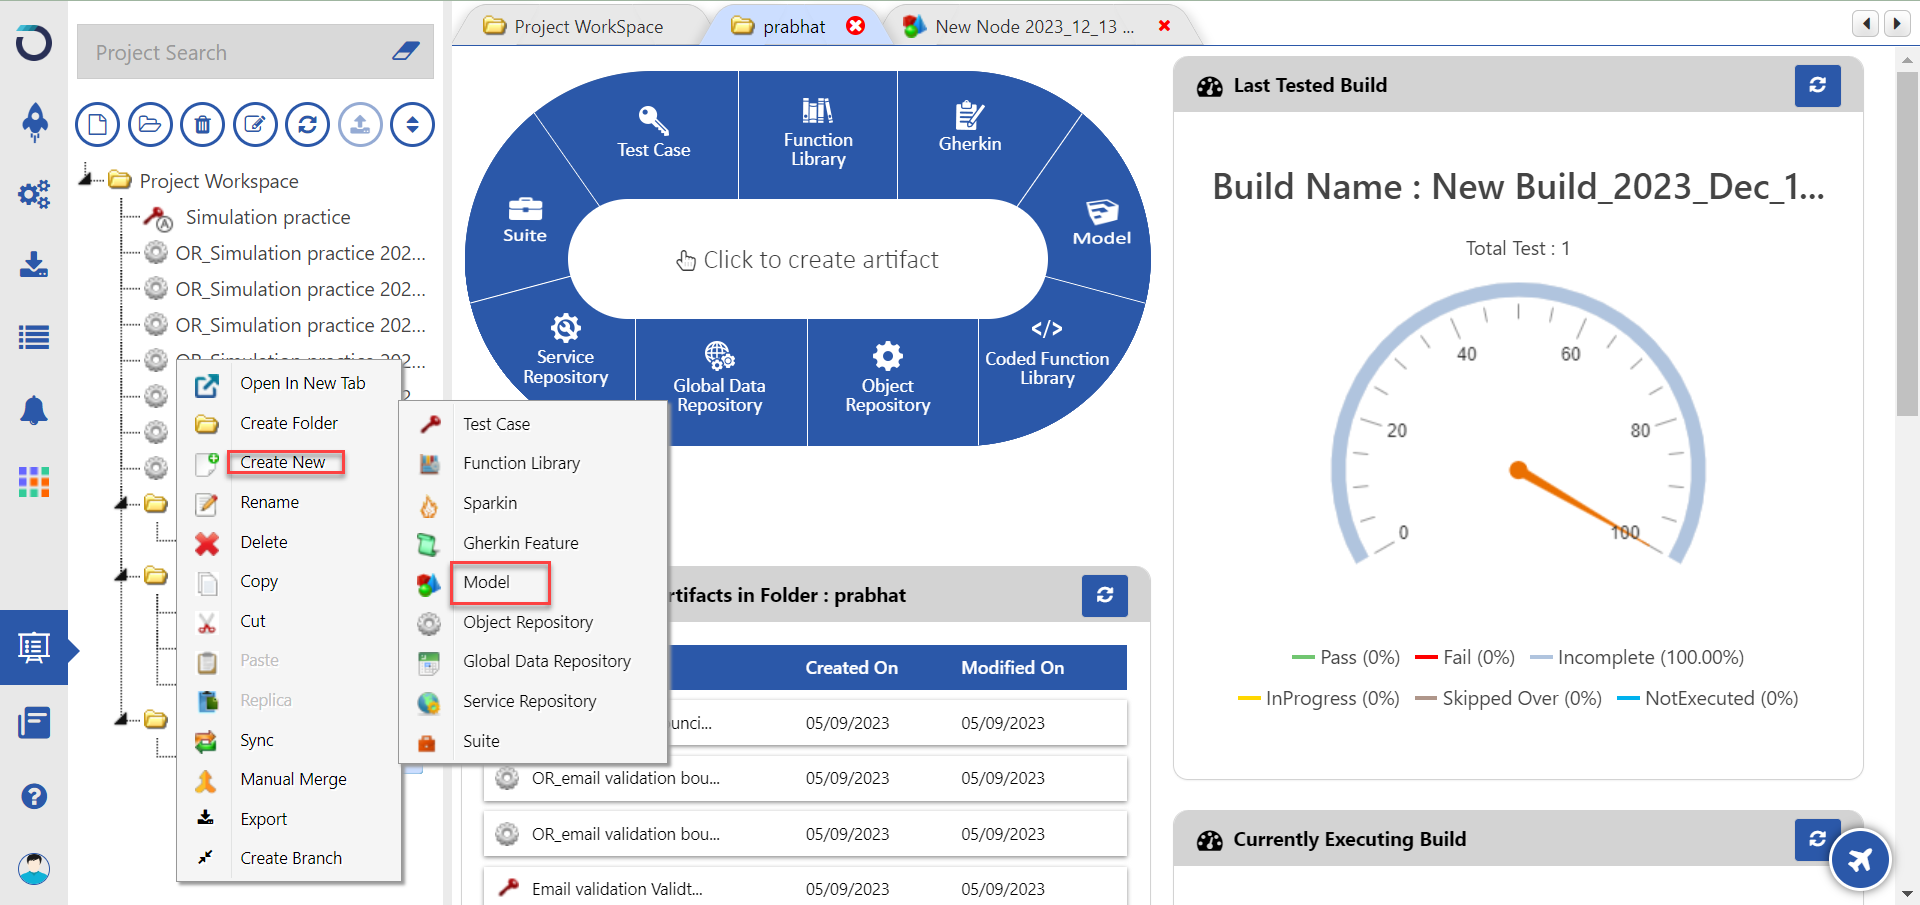
1. Right-click on the folder where you want to create the MBT, hover over Create New, and select Model.
2. A new MBT is created with the Start and Stop nodes, also known as vertices.

Let's go through the functionality of various icons at the top of the taskbar in the Model Window.

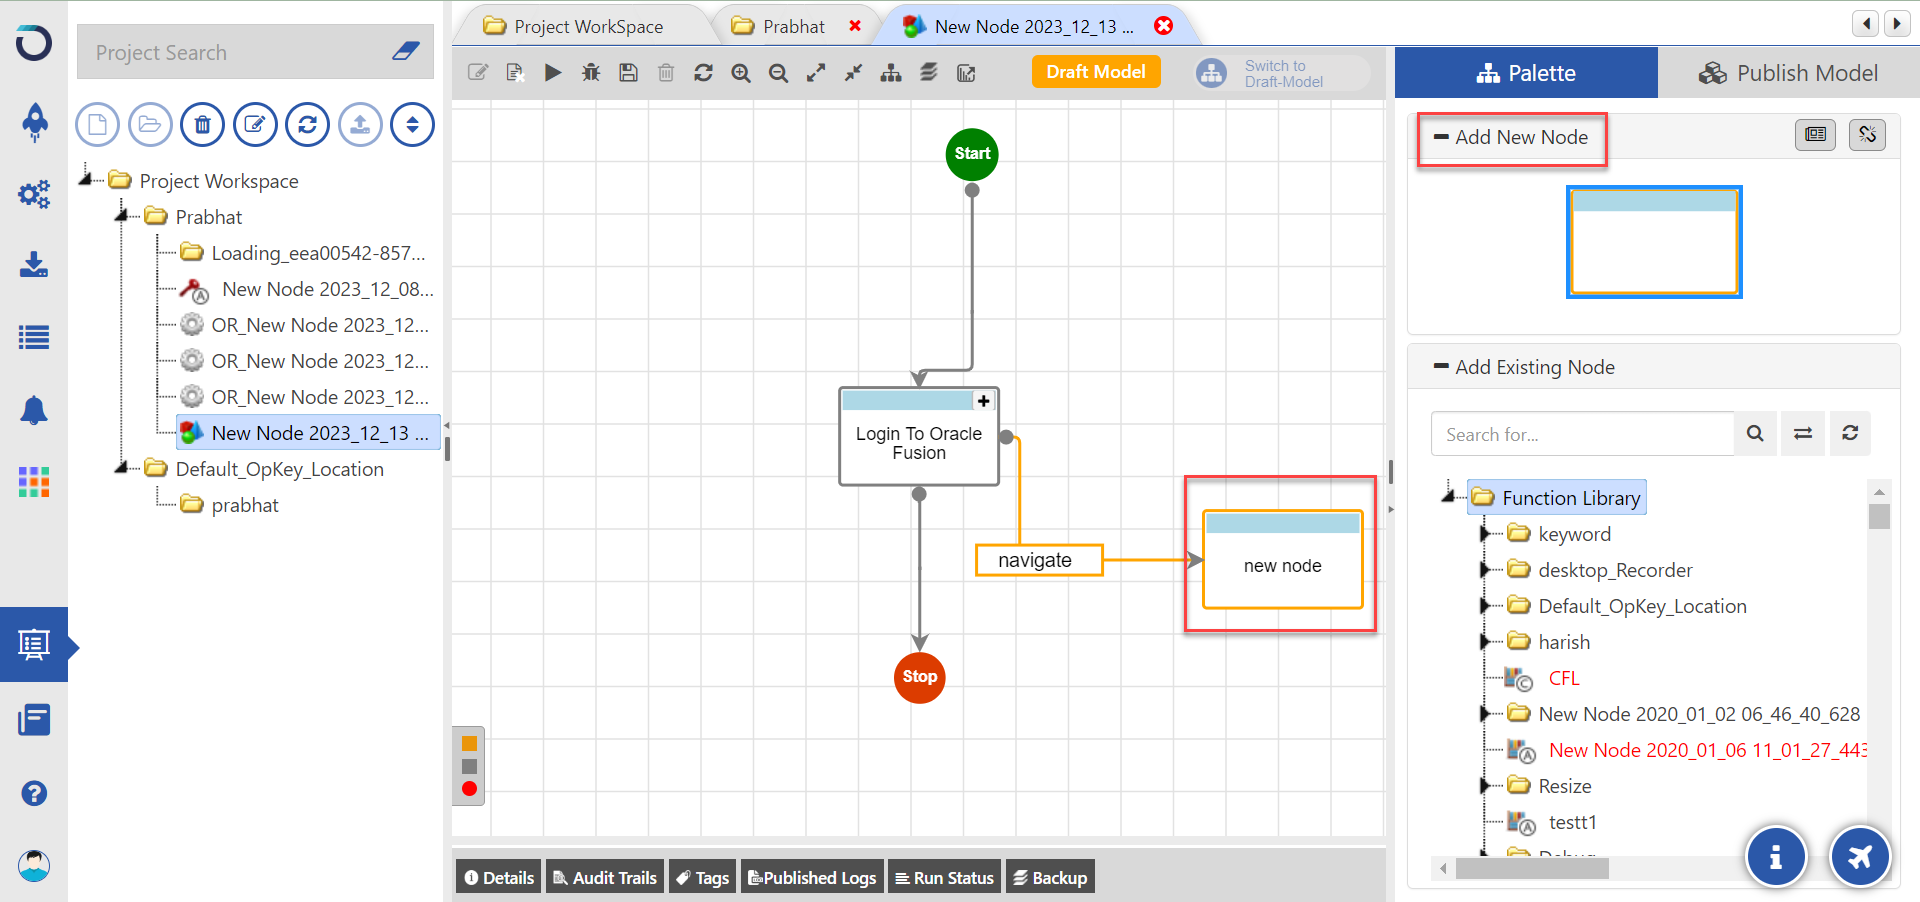
You can add empty nodes from the Add New Node window to your model with the drag and drop feature.
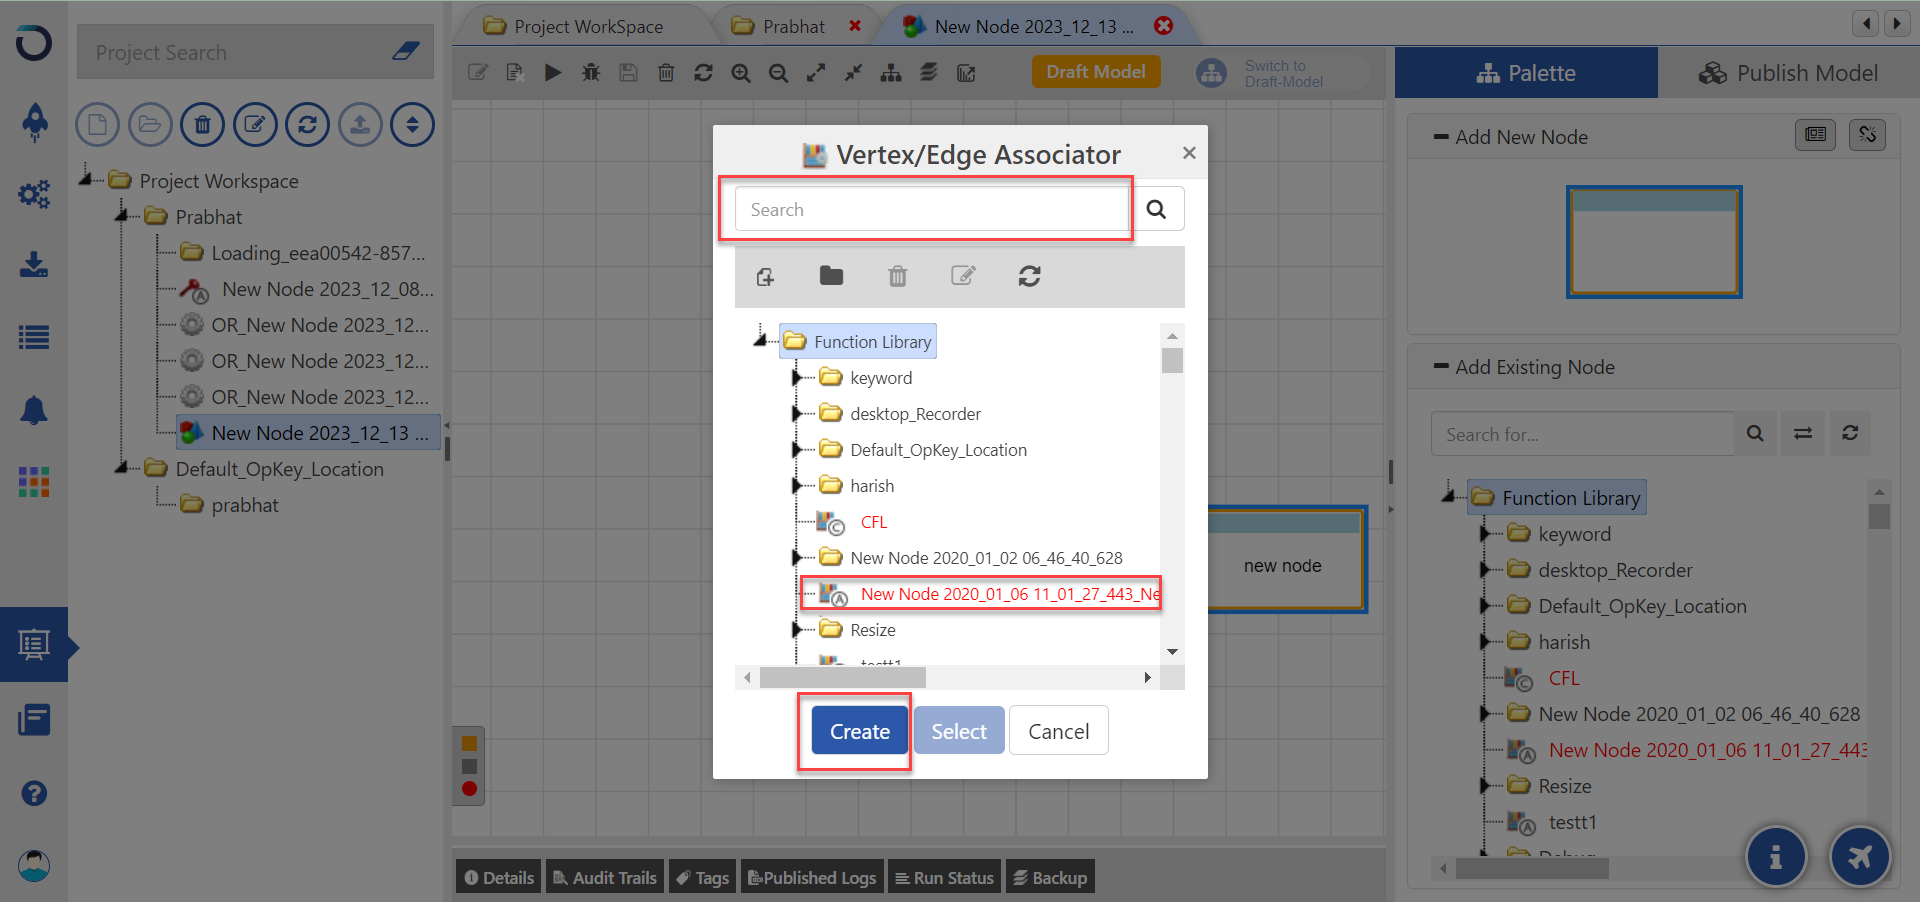
The empty nodes can be linked to function libraries (FL). The unlinked nodes have orange borders and linked nodes have gray borders. To link a function library to an empty node, right click on it and select the Link Function Library option.
Next, you can search the function library in the Vertex/Edge Associator window or navigate to the FL by expanding respective folders. After selecting the FL, you can click the Create button to link the FL to the node.
We can also link a function library with the drag-and-drop method.
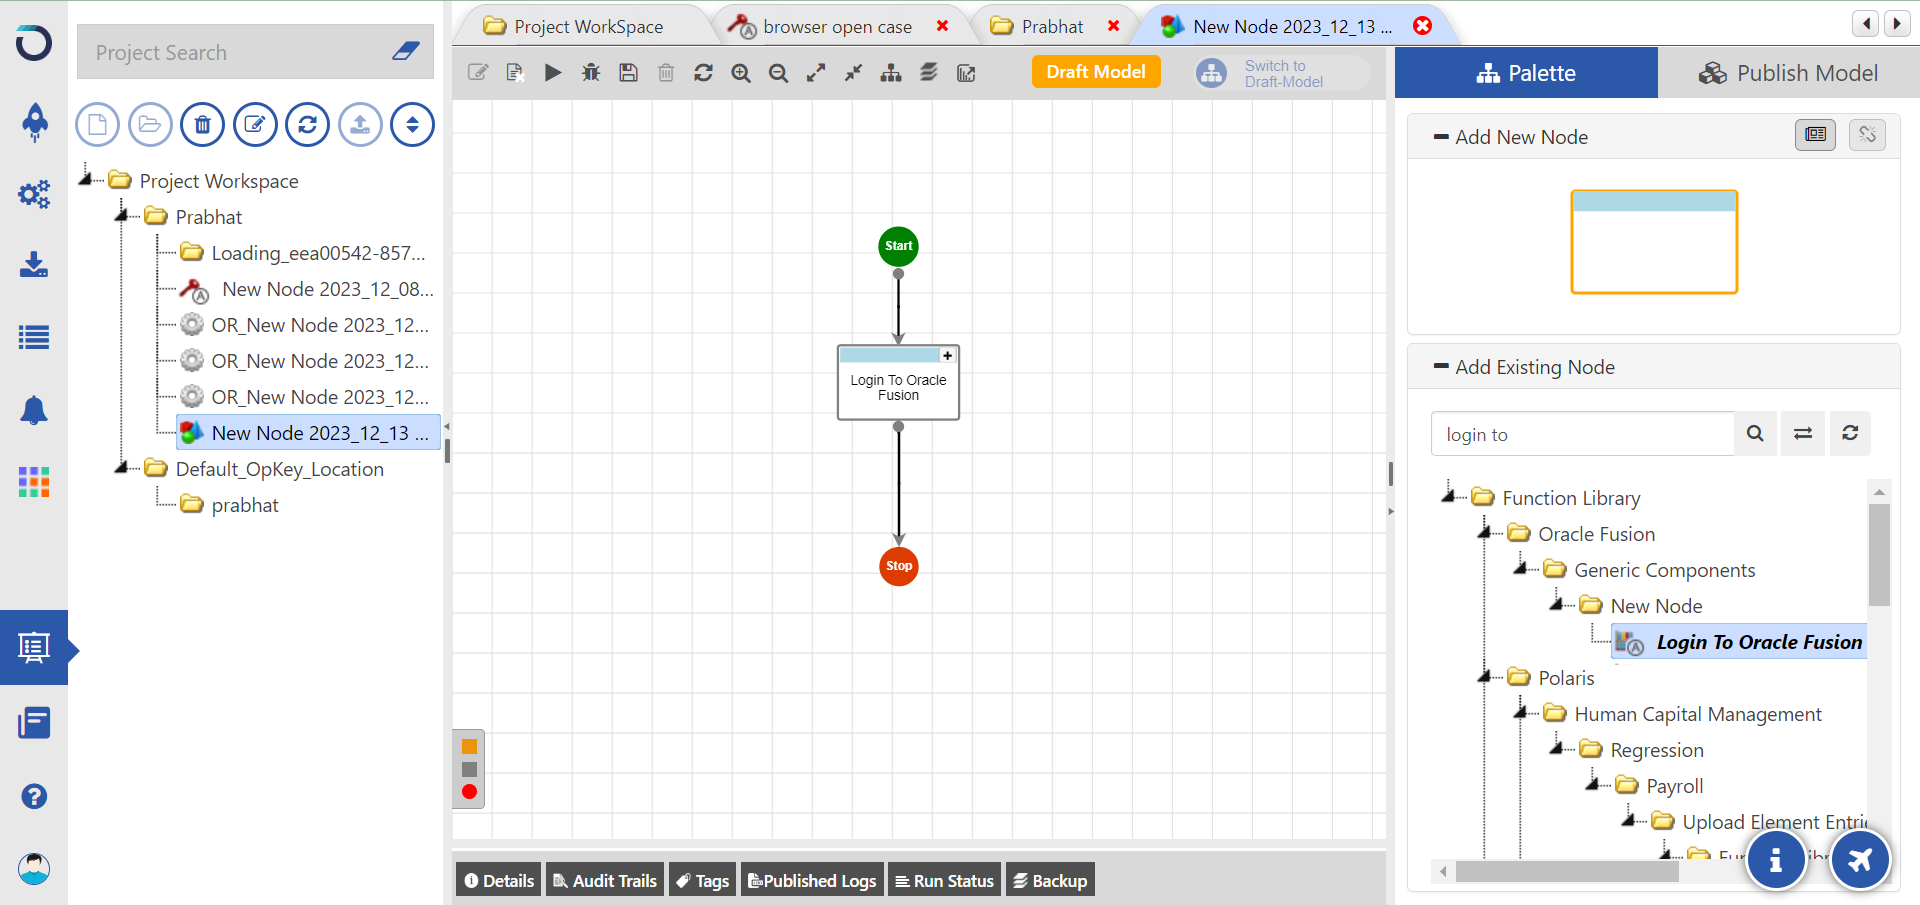
1. Go to the Add Existing Node window on the right side of the Model window.
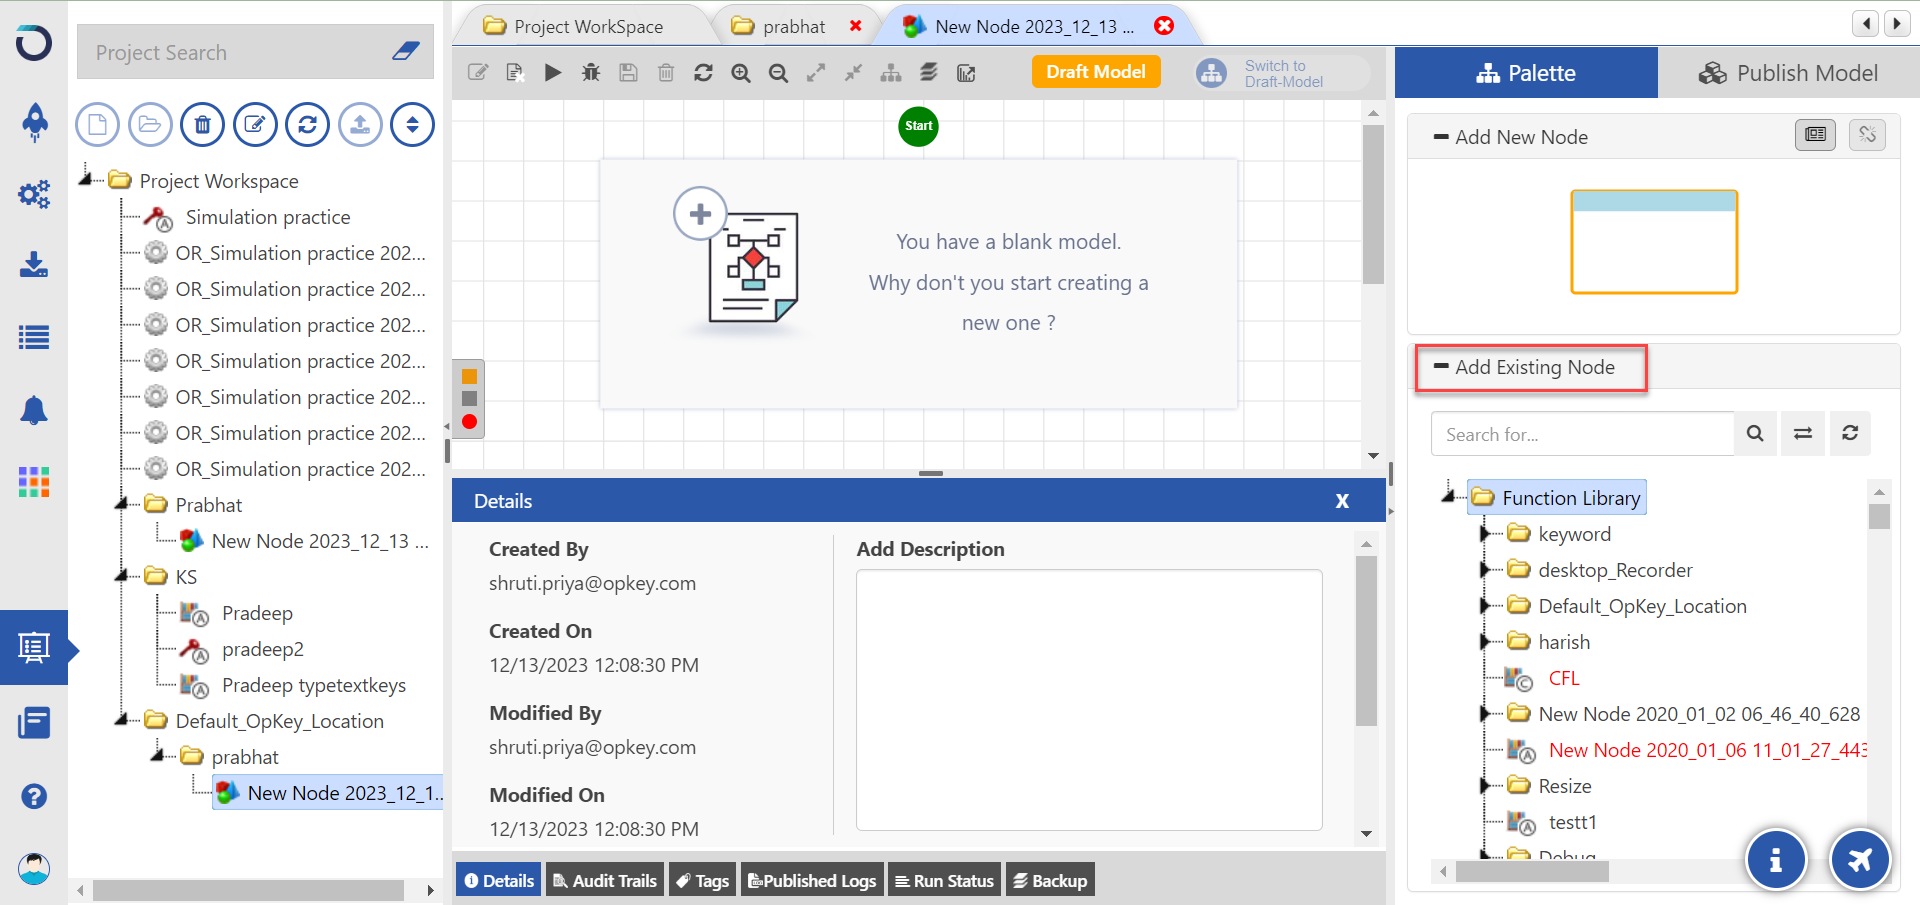
2. The Add Existing Node window consists of all the pre-built components in Opkey. Select the appropriate folder from which you want to add the function library.
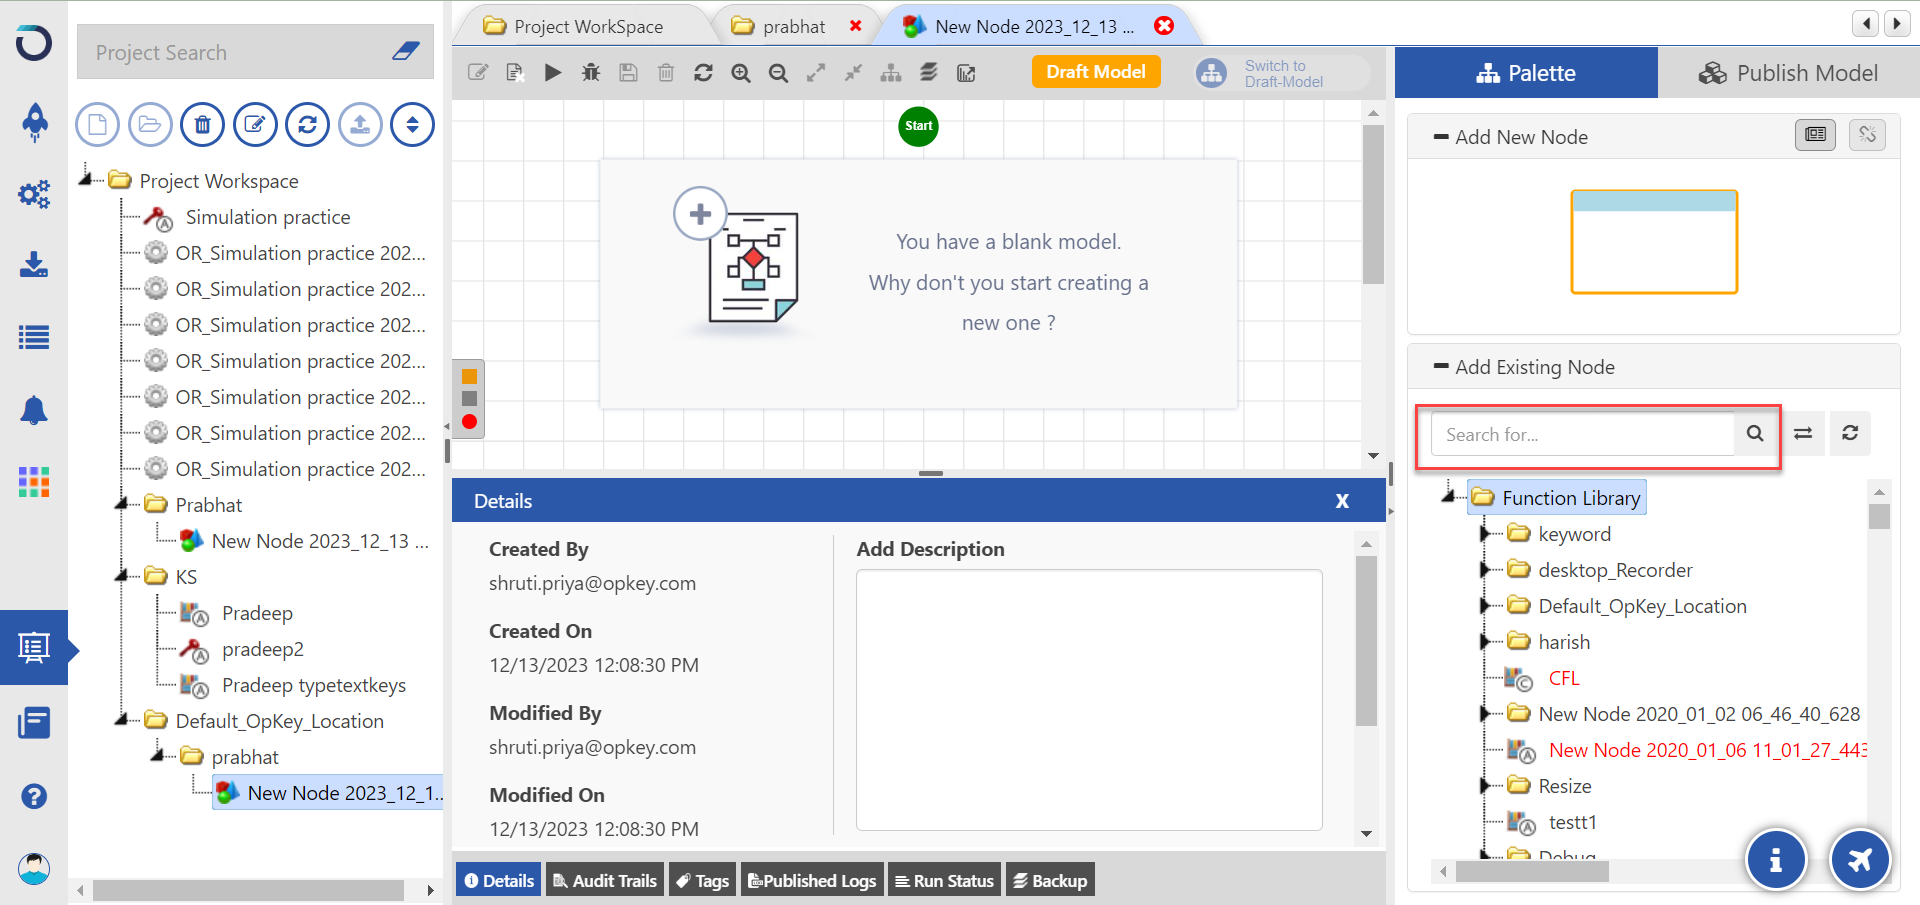
3. Expand the folders to select your function library. You can also search for a specific function library or selected step or folder by typing their name in the search bar and clicking the Search icon. The Refresh icon allows you to refresh and update all the pre-built components.
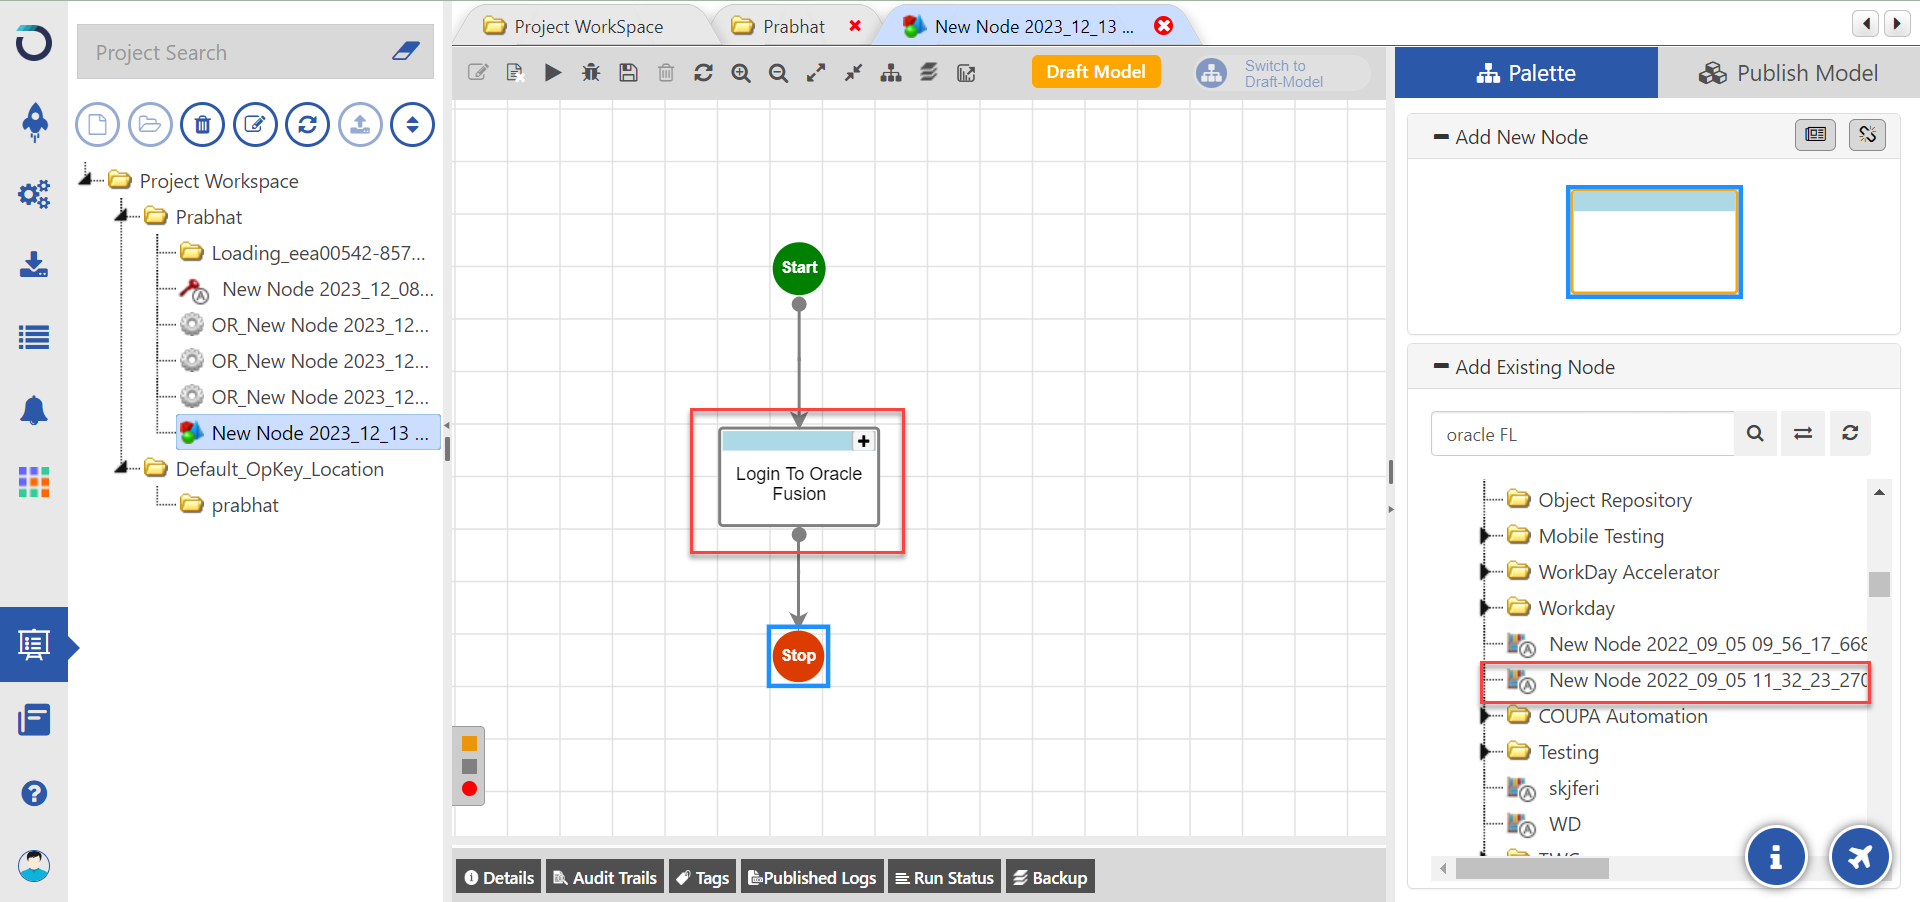
4. Now, just drag and drop the appropriate pre-built component from the Add Existing Node window to the Draft Model.
Once done, Select the Start node and drag the connecting edge to the other vertex. In this way, you can easily connect the two Vertices.
5. Similarly, you can add more vertices to the model and connect them with edges to complete the Model.
For more information, read How to Create Test Cases from MBT.
Was this article helpful?
That’s Great!
Thank you for your feedback
Sorry! We couldn't be helpful
Thank you for your feedback
Feedback sent
We appreciate your effort and will try to fix the article