Model-Based Testing (MBT) offers an efficient approach to creating test cases from model based test designs. In this article, we will explore the process of generating test cases from a model. Opkey automatically produces multiple test cases from a model with a single click.
It is essential to download and run the MBT Utility on your system before generating test cases from the model. Let's understand the process of downloading and installing MBT Utility. After this, we will learn how to create test cases from a model with this utility.
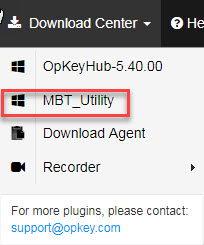
1. To start the MBT installation process, go to the download center on the project workspace and click MBT Utility.
Note: You must have Java 8 installed on your system to run the MBT utility.
2. The MBT Utility gets downloaded on your system in the Zip file. Extract the files on your system. Double-click on the Windows Batch File type as highlighted below.
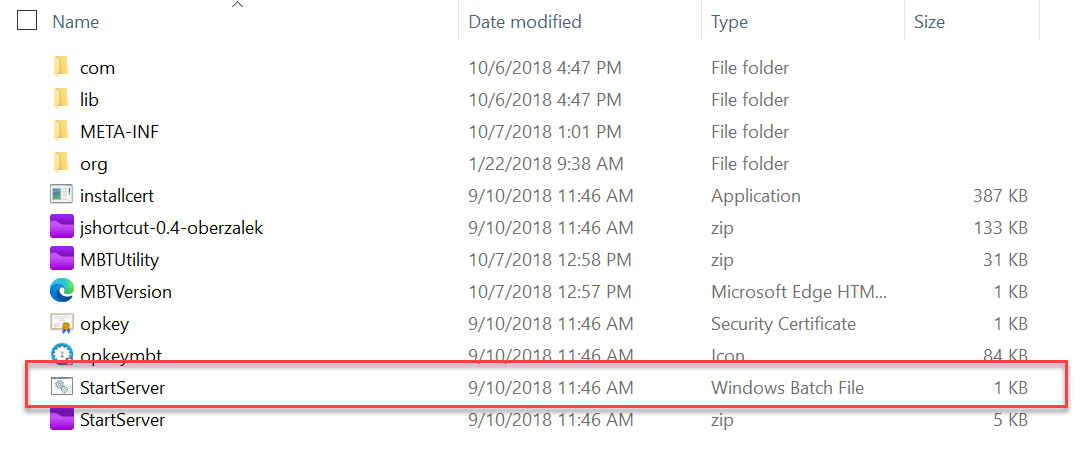
3. The MBT Utility server will start running on your system.
Now, let's start the process of generating test cases from an existing model created for a Coupa ERP workflow. In the model, there are two processes shown for generating purchase requests for products on Coupa.
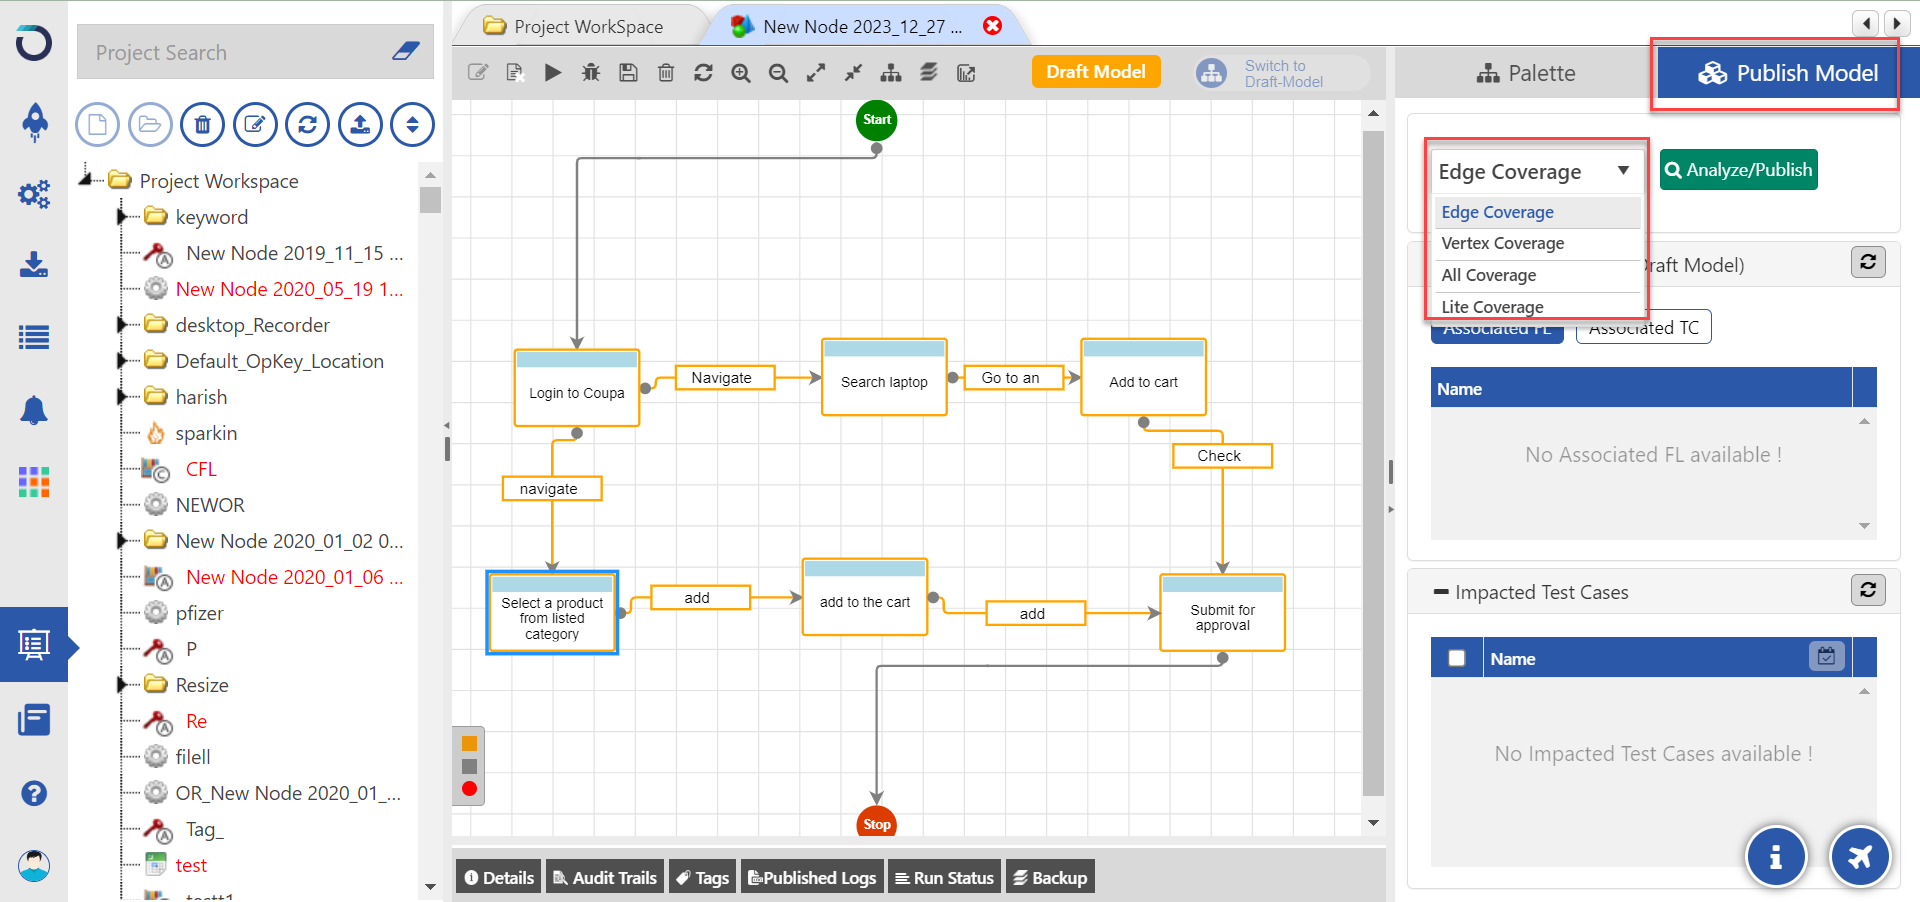
1. Click on the Publish Model tab on the right of the model. In the dropdown, you can see various options related to the coverage of processes during the analysis of the model.
Edge Coverage ensures that while analyzing your MBT model to generate test cases, all the processes in the edges are covered.
Vertex or node coverage ensures that all the nodes are covered during analysis.
All Coverage ensures that all the nodes and edges are covered during the analysis.
Lite Coverage also covers all the nodes and edges. However, it ignores duplicate edges or nodes and hence, is relatively faster. If you want comprehensive coverage, you should select All coverage. But, if you want quick analysis covering all the edges and nodes without duplicate values, you can select Lite Coverage.
2. Let’s select All Coverage from the dropdown and click the Analyze/Publish Button.
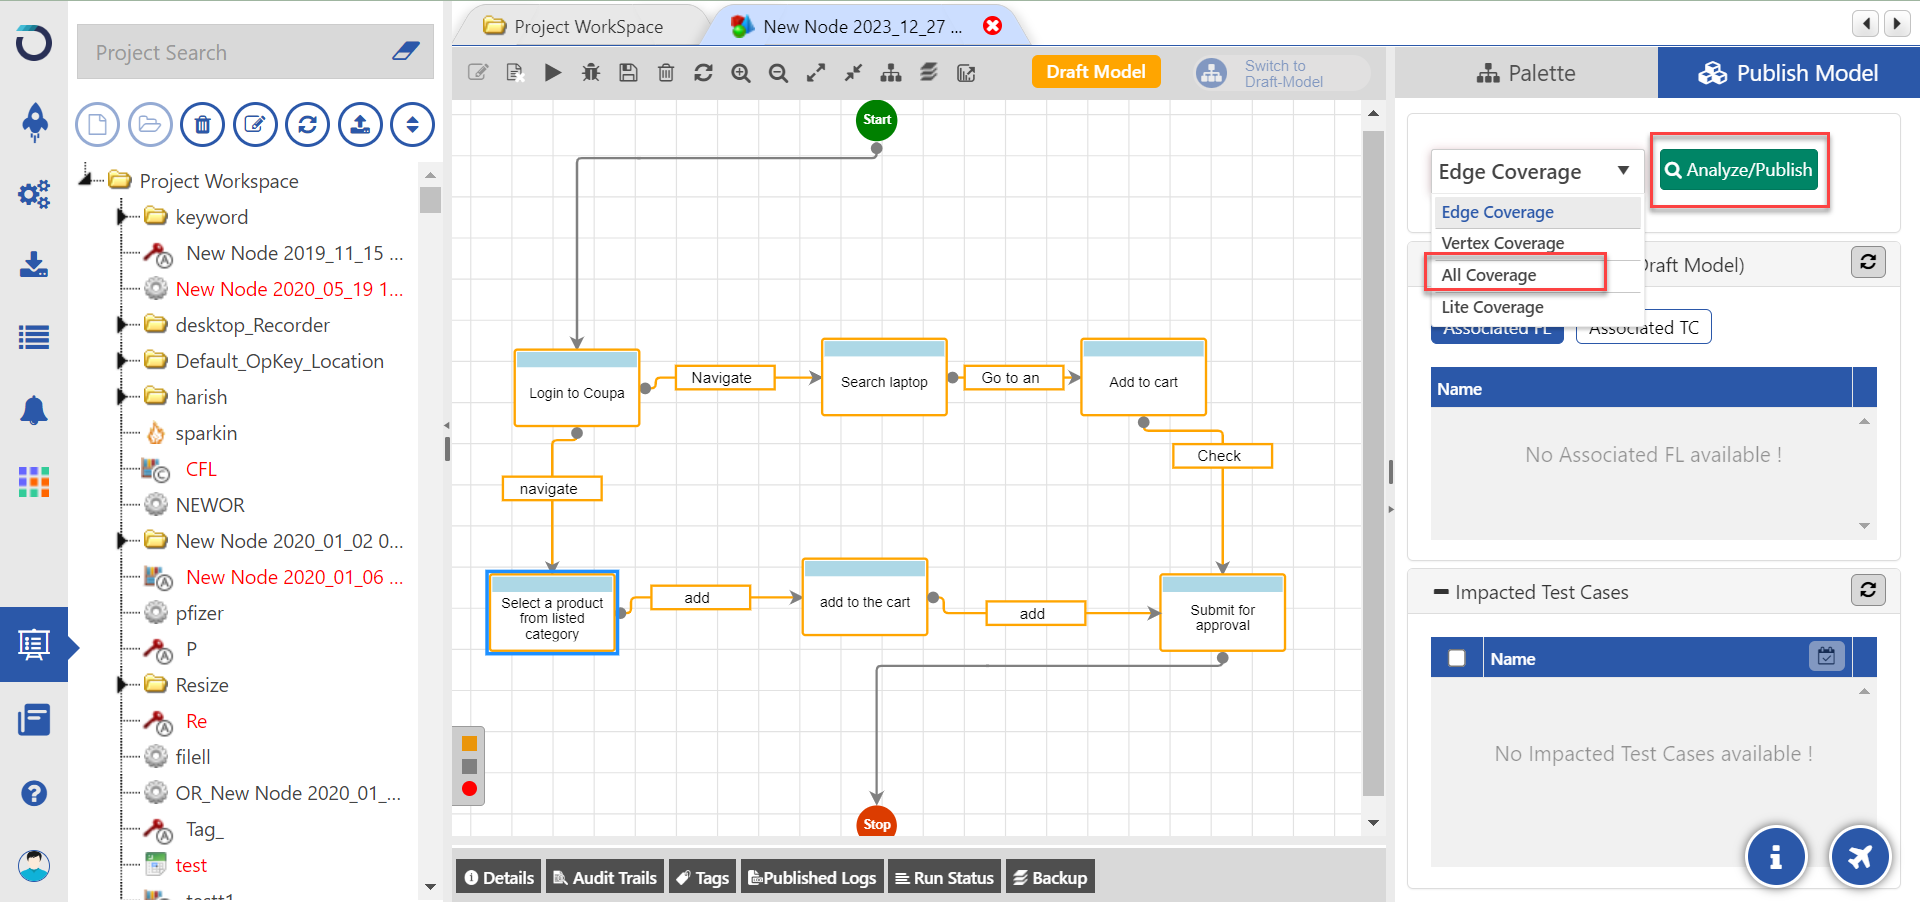
3. The Analyze Model window will open up and the compilation process will begin.
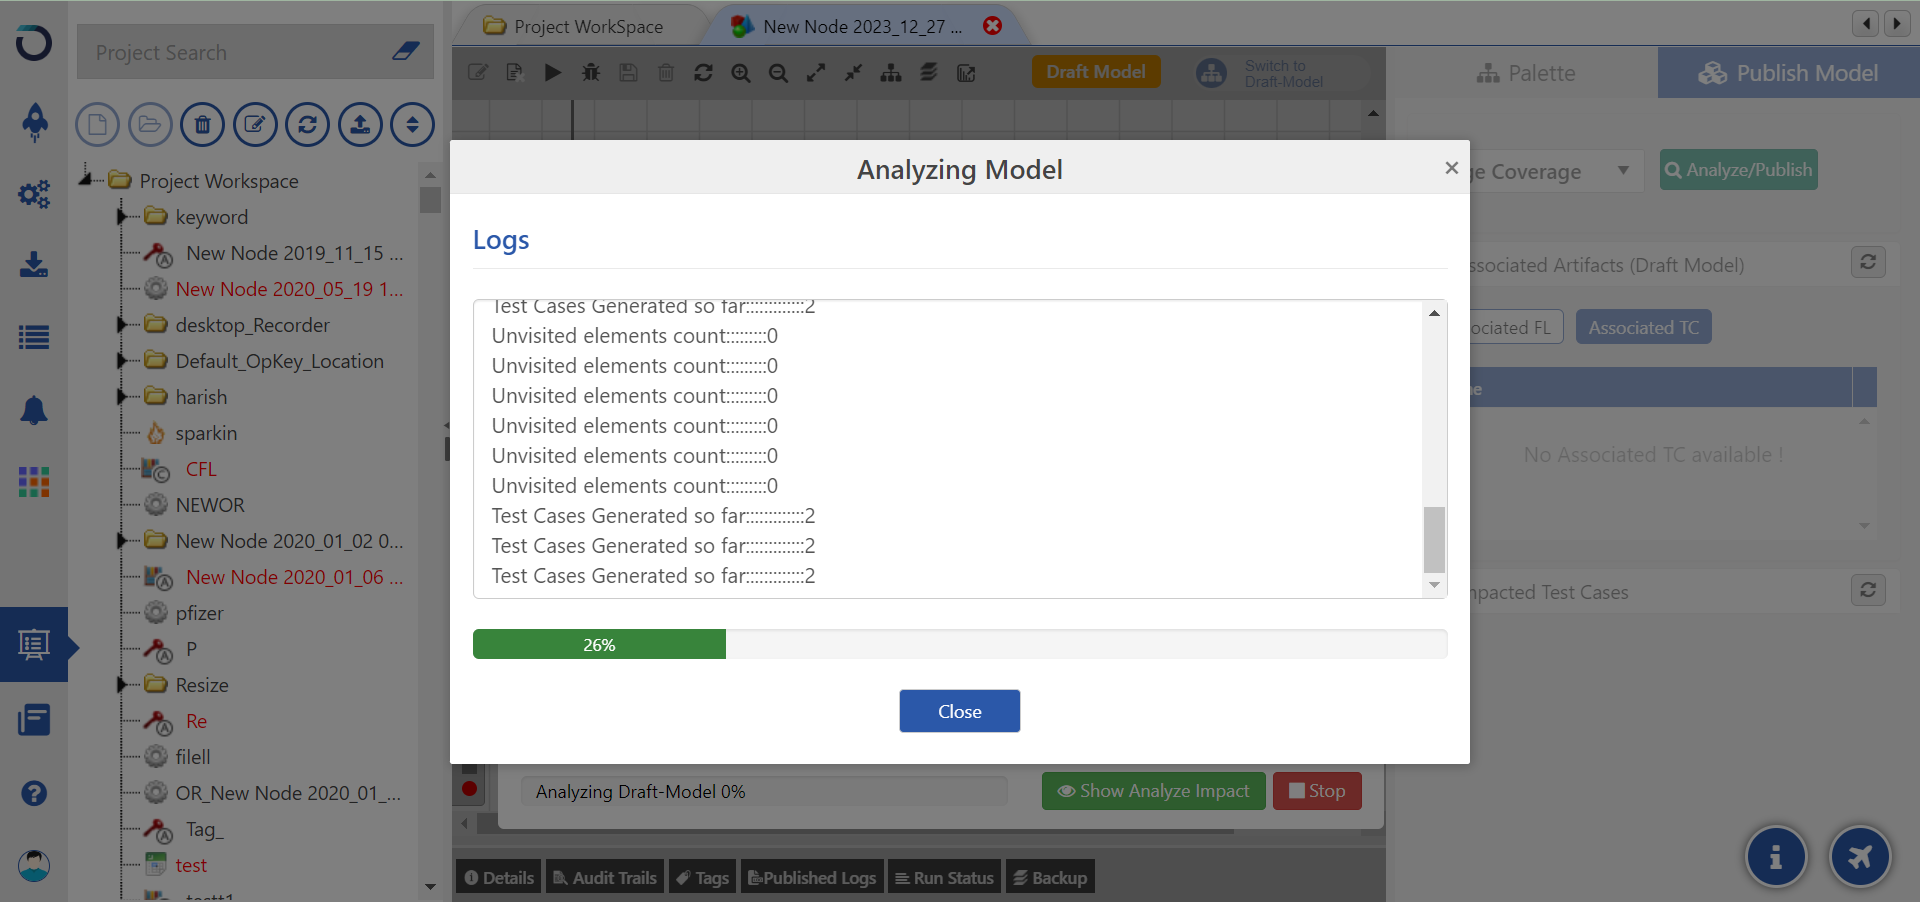
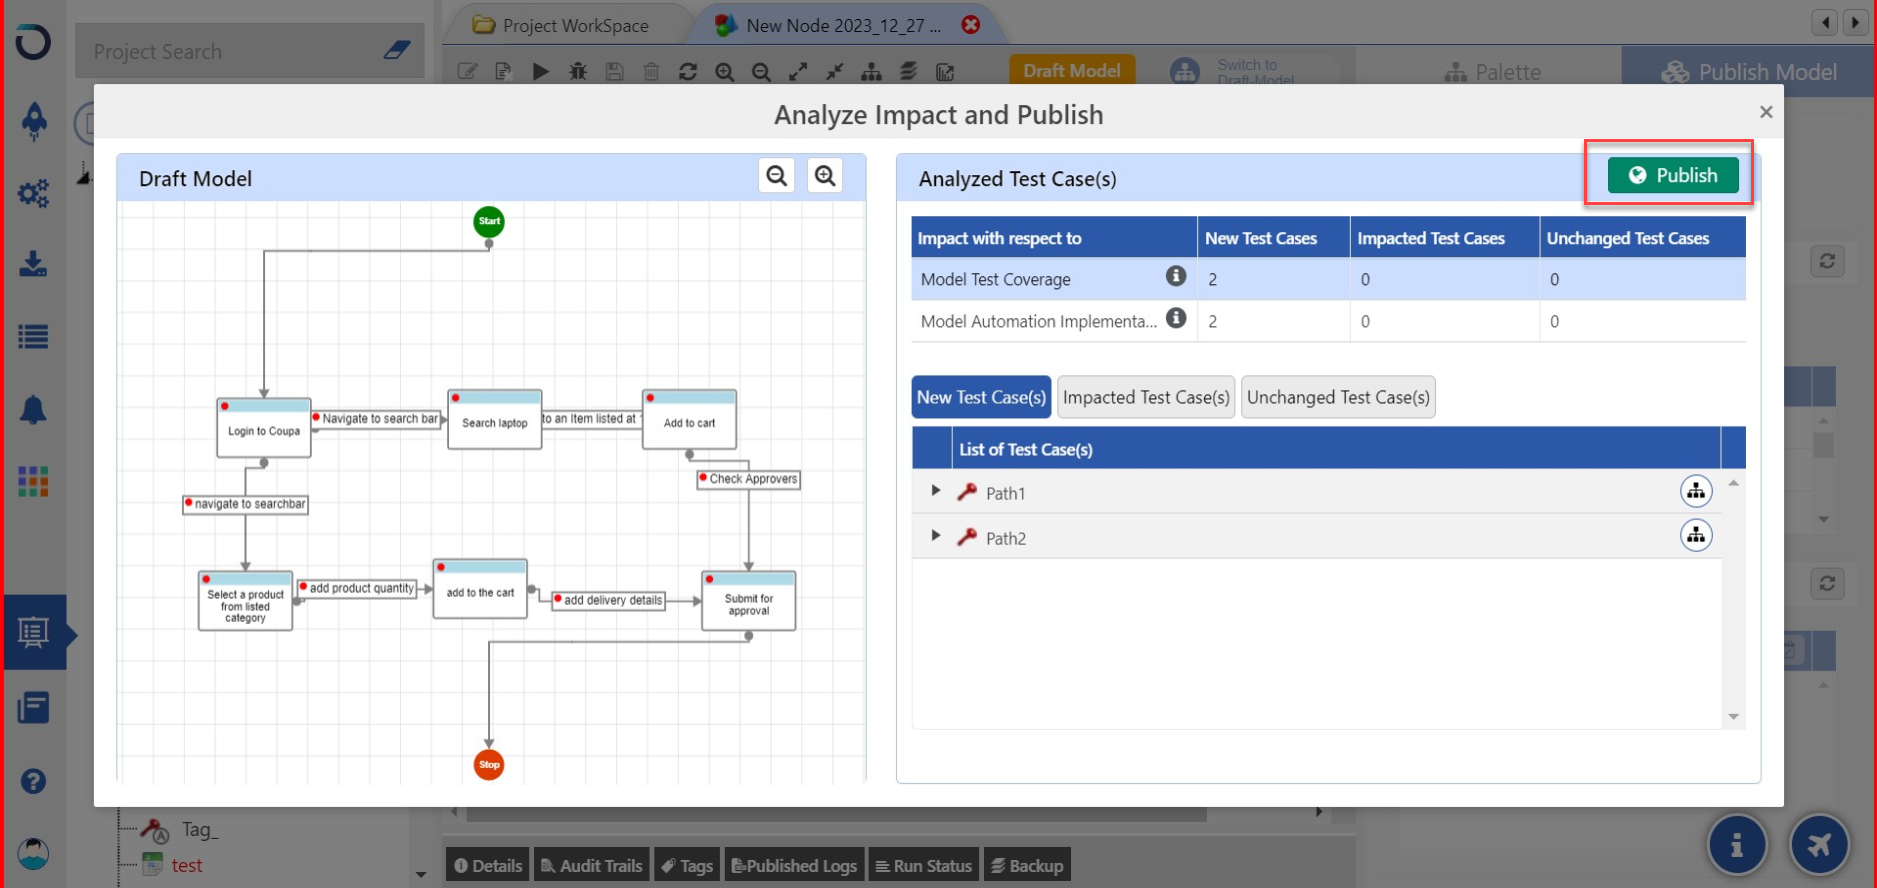
4. Once the compilation is completed, the Analyze Impact and Publish Window will open as follows:

On the Left Hand Side of the Screen you can see:
The Draft Model: The Recently created model after modifying the published Model.
On the Right Hand Side of the Screen you can see:
New Test Cases: The test cases that have been compiled will be generated after publishing.
The Impacted Test Cases: The Test cases that have changed due to the newly created test cases.
The Unchanged Test Cases: The Test cases that have not been changed due to the newly created Test Cases.
5. Now, to generate the Test Cases, click on Publish.
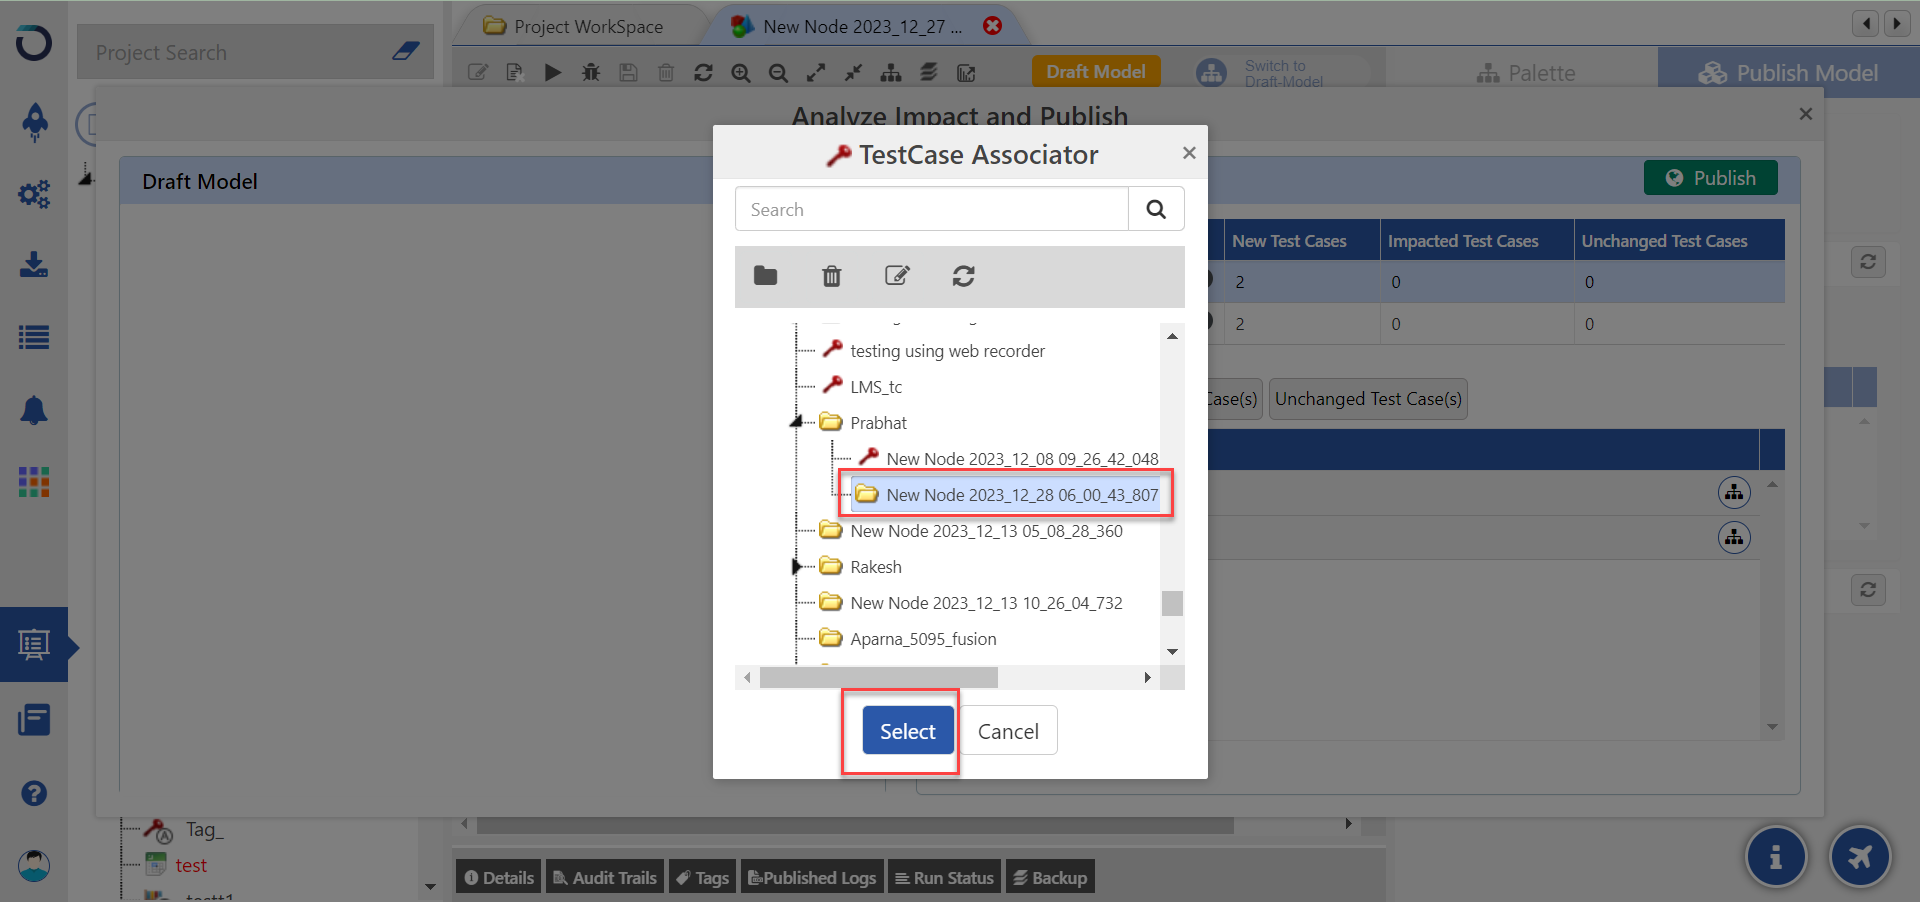
6. The Test Case Associator window opens. Here, select a folder where all the generated test cases will be saved and click the Select button at the bottom.
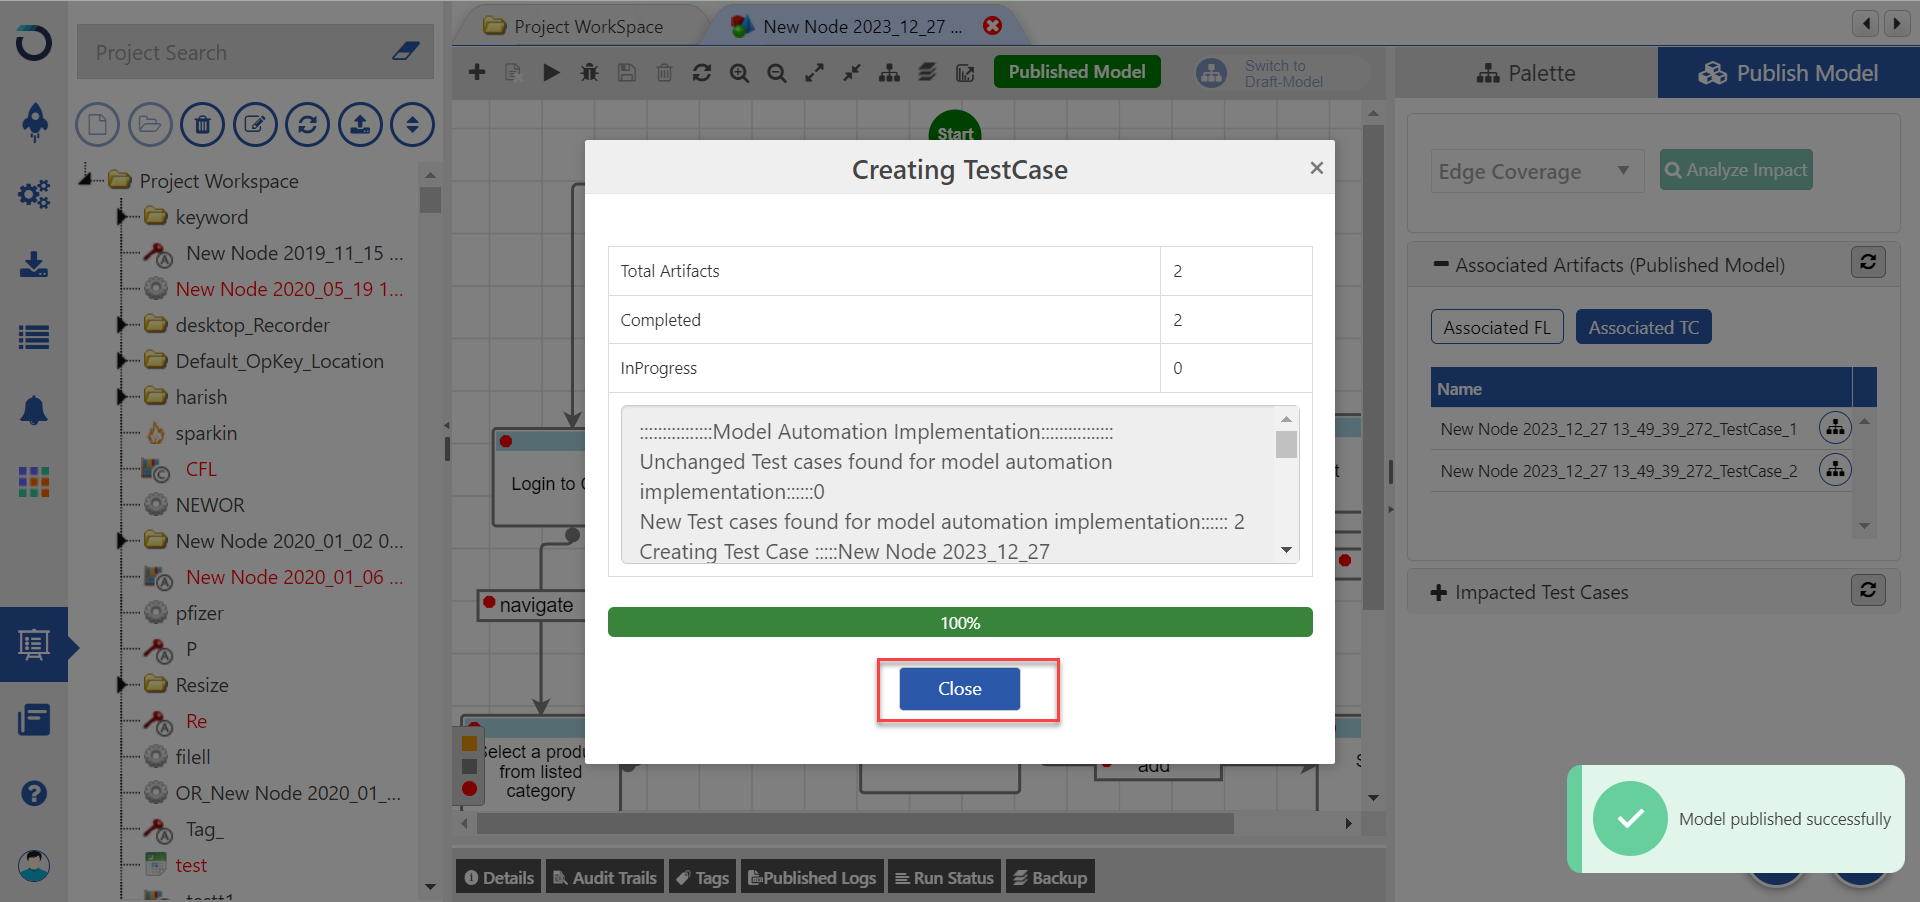
7. The Process of creating test cases will begin and the progress status will be continuously displayed in the status bar. Once it is completed, you may close the Creating TestCase window by clicking on the Close button.
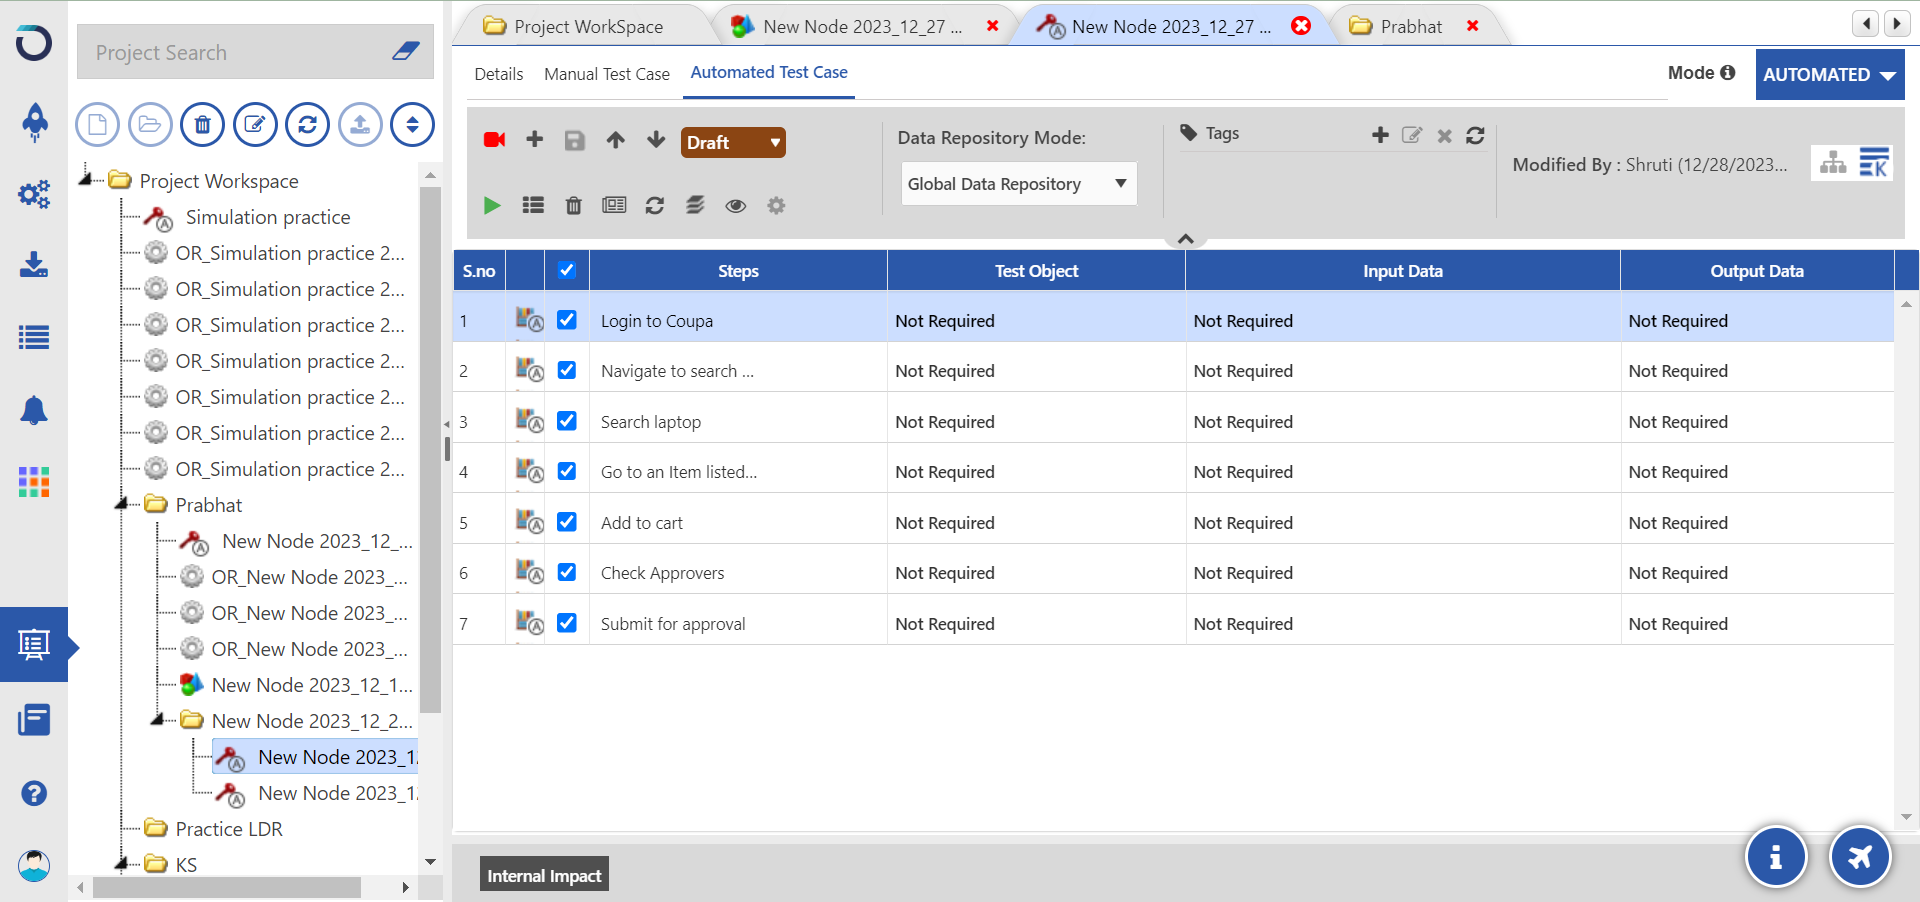
8. All the generated Test Cases can be viewed in the specified folder of the Project Workspace where you have saved them.

9. You can click on the newly created test case to view its steps.
To learn more about how to use Model Based Testing, you can visit https://university.opkeylms.com and enroll in our Opkey series course.
Was this article helpful?
That’s Great!
Thank you for your feedback
Sorry! We couldn't be helpful
Thank you for your feedback
Feedback sent
We appreciate your effort and will try to fix the article