Tickets are individual tasks that are part of a project. You can link them to user stories or test cases to establish dependencies and collaborations between various tasks.
For example, you can create a ticket on QLM for any UI defect found while manually testing your app and assign it to your developers. Tickets can be tracked throughout their lifecycle, allowing project managers to monitor their progress or status.
Creating Tickets in Opkey:
1. Select QLM from the left pane and click Ticket.

2. Click on the + Ticket button at the top of the page and select the Ticket option.

3. A window opens in the right panel. Fill in the required details such as summary, ticket type, priority, assignee, milestone, attachment, and description.

4. Once the ticket is created, you can add filters to search for specific tickets.
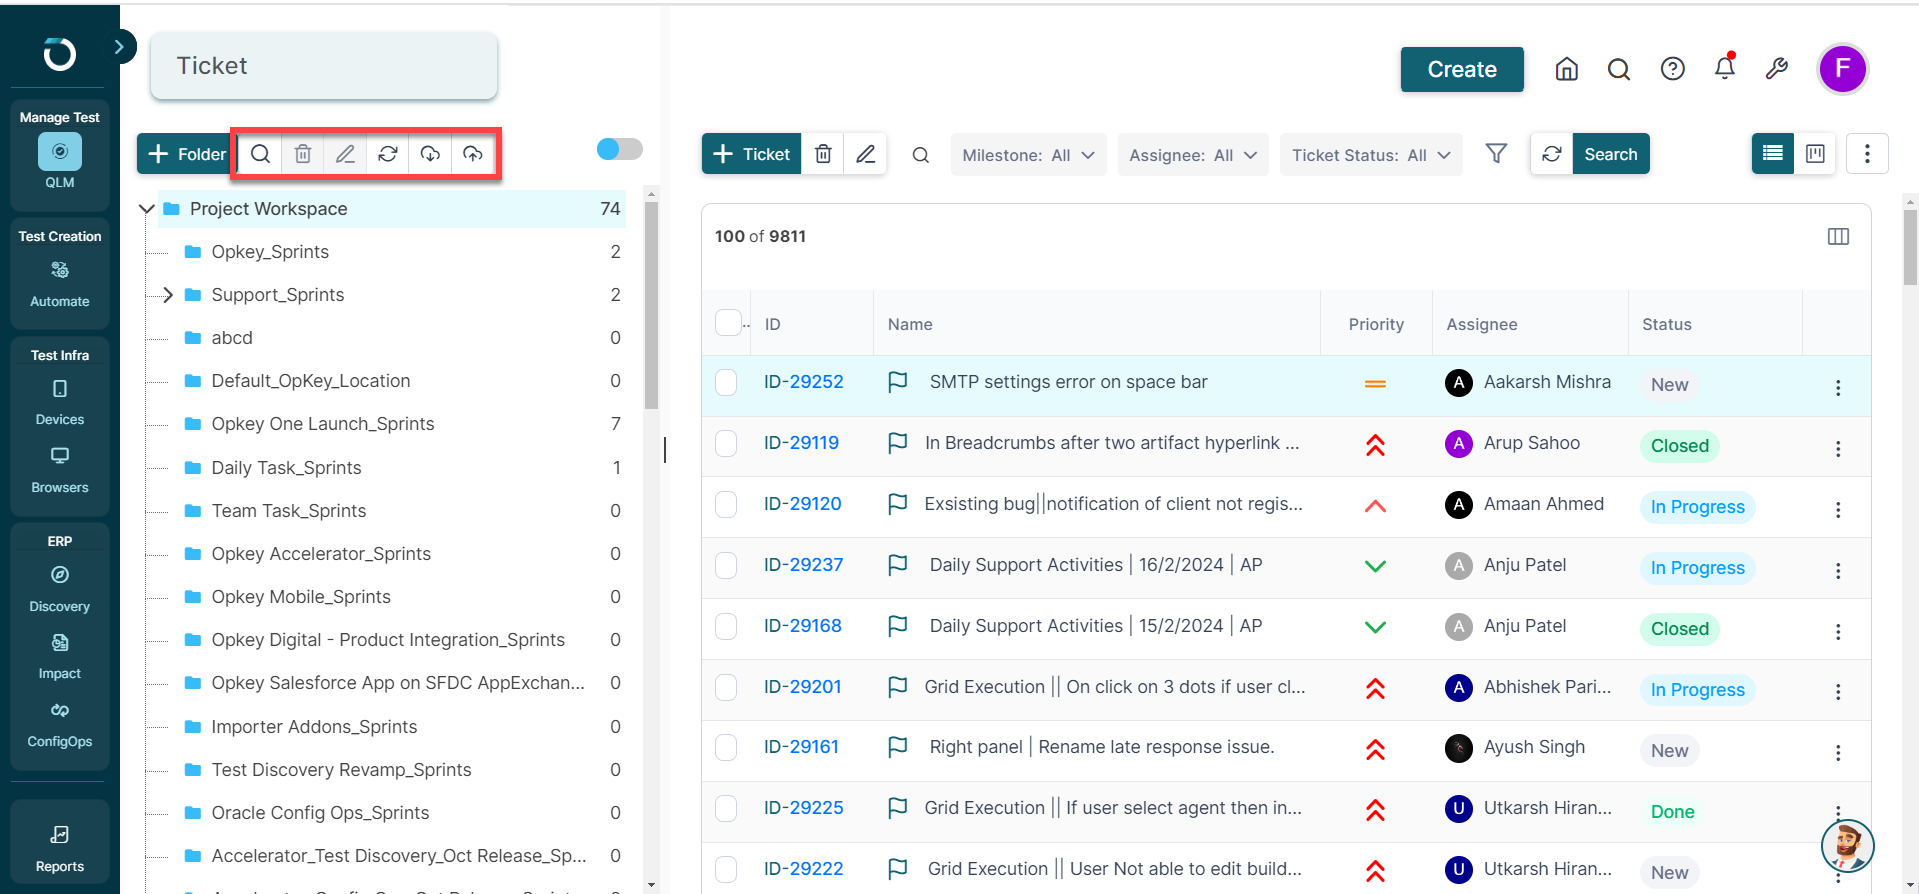
Managing Tickets in QLM:
Opkey’s ticket dashboard summarizes ticket workload and progress in a grid view showing status and priority. This helps in understanding the current state of tickets in projects. Let's look into the meaning of various ticket statuses shown on the dashboard.
Filters
You can also use filters such as Milestone, Tickets Status, and Assignee. If you are a Project Manager, you can use these filters to see tickets assigned to each team member, monitor ticket status, and oversee tickets linked with milestones of a planned release.

You can also use the Delete, Rename, and Search icons in the toolbar at the top to delete, rename, or search any ticket by its name or ID in the list.
Ticket Status
1. When a ticket is created, the default status is NEW.
2. In Progress: When the developer accepts the ticket and starts working on it.
3. Deferred: If the developer finds that the bug is not important, costly, or not possible to fix now, this ticket status is selected.
4. Done: This is chosen when the ticket is resolved. With this, the developer has to choose a resolution status in the Resolution field.
5. Reopen: If the issue is not fixed, the user cannot select the OPEN option again.
4. Closed: This option is selected when a QA verifies the ticket and is satisfied with the resolution.
Updating Tickets in Bulk
You can click the three dots icon top-right corner and click Bulk update to open the Update window.
In this window, you can select multiple tickets and click the Next button at the top to make changes to them.

After clicking the Next button, you can expand and update the Common Fields in the tickets by clicking the checkbox of the field and clicking the Start button at the top.

Similarly, you can click and expand Ticket Specific Fields to make specific changes in any ticket. Once done, you can click the Close button at the top-right corner to exit the window.

Inside a ticket page, you get an option to link it to a user story or a test case. You can also link issues from your Jira account.
 You've reached the end of this article and are now well-prepared to create tickets and manage them on the Tickets dashboard in QLM.
Ready to dive deeper? Check out the next article: Understanding Test Runs
Explore, experiment, and achieve your testing goals on Opkey!
Was this article helpful?
That’s Great!
Thank you for your feedback
Sorry! We couldn't be helpful
Thank you for your feedback
Feedback sent
We appreciate your effort and will try to fix the article